In this quick How-To we go through the steps we use to install Ubuntu Server on a Raspberry Pi 4. We use these devices for many standard tasks on our network. As ubuntu is one of our prefered operating systems for servers. Decided to record the steps we go through while preparing a new Raspberry Pi 4 that will run ubuntu 64 bit server in the environment.
(Including Apple Time Machine Support, Enabling Network Backups)
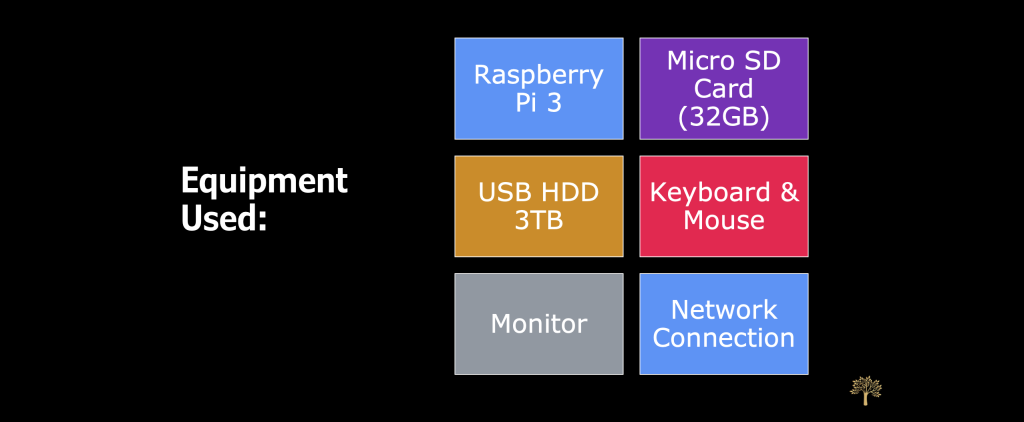
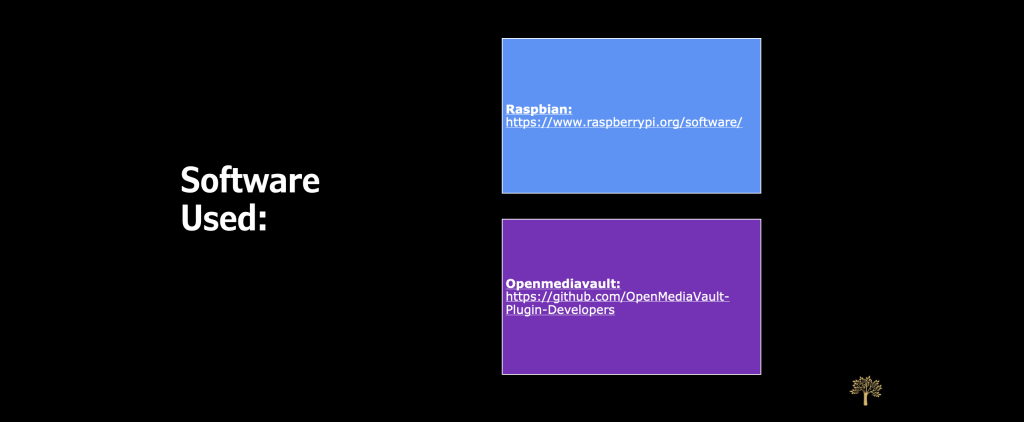
Walk-through of how to install a NAS based on (OMV) openmediavault on a Raspberry Pi. Best features for us is the ability to create a SMB share that has Apple Time Machine support. This enables us to backup all our Mac machines 🖥 / 💻 using time machine to the network. No more usb drives.
Walk-through of how to install a NAS based on (OMV) openmediavault on a Raspberry Pi. Best features for us is the ability to create a SMB share that has Apple Time Machine support. This enables us to backup all our Mac machines 🖥 / 💻 using time machine to the network. No more usb drives.
The HendGrow site & YouTube channel was created to share knowledge by sharing how-to guides, book reviews, general knowledge etc, with the aim to empower the reader, viewer with the information to implement various solutions on their own or gain knowledge on various topics. Maybe you wondering what that book or topics is about, could be looking for a free firewall solution to protect the family or business. Have decided to open a store and need an open source web or retail Point of Sale (POS) system. The HendGrow site and channel provides walk-throughs on these and various other topics. The topics are either directly from our subscriber requests or derived from solutions we have implemented, that we believe could add value to the community. It’s our way to give back and hopefully help a few people along the way. If only one person gets value out of the how-to / walk-through guides then to us the effort was worth it.