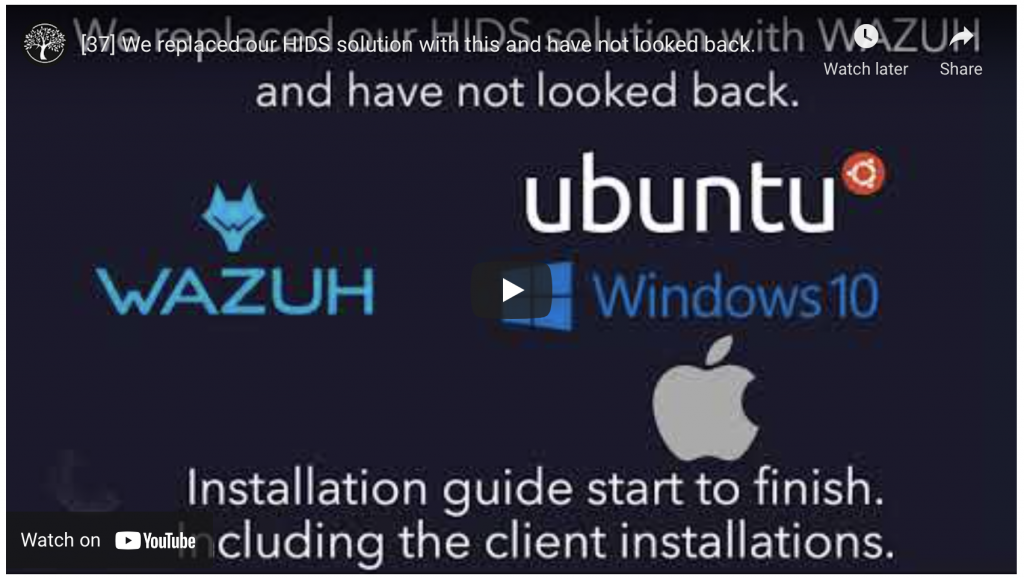
Steps for installing WAZUH all in one instance. These are the steps we used including the steps for installing the agents on Linux, windows and macOS / OSX.
The back story for the guide is we used OSSEC for many years and our setup worked fine with sending the OSSEC events to a syslog server for additional reporting. We decided to move to WAZUH as it has a nice interface and reporting. Also the installation and management of the solution is straight forward and simple to use. We have subsequently convinced and started to migrate some of our clients to WAZUH with great results and positive feedback. We therefore decided to put this quick guide together to provide our clients and the community a quick reference to deploy their own standalone instance should they want to. The all in one install we deployed can support up to +/- 100 agents.
- - - - - START HERE - - - - - PDF version Min recommendations & specs we used (we have 20 agents in our environment) Ubuntu Server 20.06 2x CPU 6 GB RAM 250 GB HDD NIC - - - - - ssh to your Ubuntu Server instance.ssh yourusername@yourserveripSet root passwordsudo passwdEnter the new root password Confirm the new root passwordsuEnter the password you just set. Install WAZUHapt-get install libcap-ng-utils unzip curl -so ~/all-in-one-installation.sh https://raw.githubusercontent.com/wazuh/wazuh-documentation/4.0/resources/open-distro/unattended-installation/all-in-one-installation.sh && bash ~/all-in-one-installation.shOpen your web browser and navigate to your servers ip https://yourseversipaddress or FQDN Adding agents Note you need to substitute your server FQDN or IP address where we have yourserver Linux (Ubuntu 20.04 Desktop) Open the terminal and run the following commandssudo apt-get install curl sudo curl -so wazuh-agent.deb https://packages.wazuh.com/4.x/apt/pool/main/w/wazuh-agent/wazuh-agent_4.0.4-1_amd64.deb && sudo WAZUH_MANAGER='yourserver' dpkg -i ./wazuh-agent.debStart the agentsudo service wazuh-agent startWindows Open the powershell ISE as administrator and run the following commandInvoke-WebRequest -Uri https://packages.wazuh.com/4.x/windows/wazuh-agent-4.0.4-1.msi -OutFile wazuh-agent.msi; ./wazuh-agent.msi /q WAZUH_MANAGER='yourserver' WAZUH_REGISTRATION_SERVER='yourserver'Mac Open the terminal and run the following commandcurl -so wazuh-agent.pkg https://packages.wazuh.com/4.x/macos/wazuh-agent-4.0.4-1.pkg && sudo launchctl setenv WAZUH_MANAGER 'yourserver' && sudo installer -pkg ./wazuh-agent.pkg -target /Start the agentsudo /Library/Ossec/bin/ossec-control start- - - - - EnD - - - - -