In this walk-through we will show you how to configure your IPFire installation specifically around the proxy and url filter.
IPFire – https://www.ipfire.org
In this walk-through we will show you how to configure your IPFire installation specifically around the proxy and url filter.
IPFire – https://www.ipfire.org
IPFire is a hardened open source Linux distribution that primarily performs as a router and a firewall. It’s a standalone firewall system with a web-based management console for configuration.
In short a Good Open-source firewall /proxy that can be used at home. Easy 2 install & Easy 2 use?
There are many open-source distros available today that could serve as a proxy or firewall. We are not saying IPFire is the only firewall/proxy distro. However, if you looking for an easy install system with many add-ons for home or small office use look no further. In this walk though will show you how to install the IPFire Open Source Firewall. Use it as your personal firewall gateway and proxy server.
For more information on IPFire visit https://www.ipfire.org
In this walk-through we will take you through the steps to configure your IPFire as a IDS & IPS. Then use Kali demonstrate how it works.
IPFire – https://www.ipfire.org
Kali – https://www.kali.org
In this walk through we will show you how to install Kali Linux on Windows 10 / Or any Linux distributions offered via the store
More about Kali Linux App: https://www.kali.org/news/kali-linux-in-the-windows-app-store/
How to install any Linux distributions offered via the Windows store.
Windows build 16215 or later required. For more detailed information follow the Microsoft link here: https://docs.microsoft.com/en-us/windows/wsl/install-win10
In this walk through we will be showing you how to build your own private cloud in minutes using Ubuntu & Next Cloud!
Software:
Ubuntu Server – https://www.ubuntu.com/download/server
Next Cloud – https://nextcloud.com/
This walk through will show you how to install OSSEC HIDS Server with Web User Interface. Configure the WUI and instal the client on a Windows machine.
—Start Here—
Assuming you have an existing Ubuntu server setup.
sudo apt update && sudo apt upgrade
2. Install some base applications
sudo apt install -y php php-cli php-common libapache2-mod-php apache2-utils sendmail inotify-tools apache2 build-essential gcc make wget tar libssl1.0-dev libz-dev libssl-dev libpcre2-dev libevent-dev
3. Enable rewrite, Apache & Start Apache.
sudo systemctl enable apache2
sudo systemctl start apache2
sudo a2enmod rewrite
4. Let’s get the OSSEC source package, extract and install. (Check for the latest version -> https://www.ossec.net/download-ossec/ at the time of creating this document version = 3.1.0
wget https://github.com/ossec/ossec-hids/archive/3.1.0.tar.gz
tar -xvzf 3.1.0.tar.gz
cd ossec-hids-3.1.0/
sudo sh ./install.sh
5. The OSSEC Service options & starting
Usage: ./ossec-control {start|stop|reload|restart|status|enable|disable}
sudo / var/ossec/bin/ossec-control start
6. Install the OSSEC web User Interface.
cd /tmp/
sudo git clone https://github.com/ossec/ossec-wui.git
sudo mv /tmp/ossecwui /var/www/html
cd /var/www/html/ossec-wui
sudo ./setup.sh
6.1 Set some file permissions
sudo chown -R www-data:www-data /var/www/html/ossec-wui/
sudo chmod -R 755 /var/www/html/ossec-wui/
Restart Apache2
sudo systemctl restart apache2
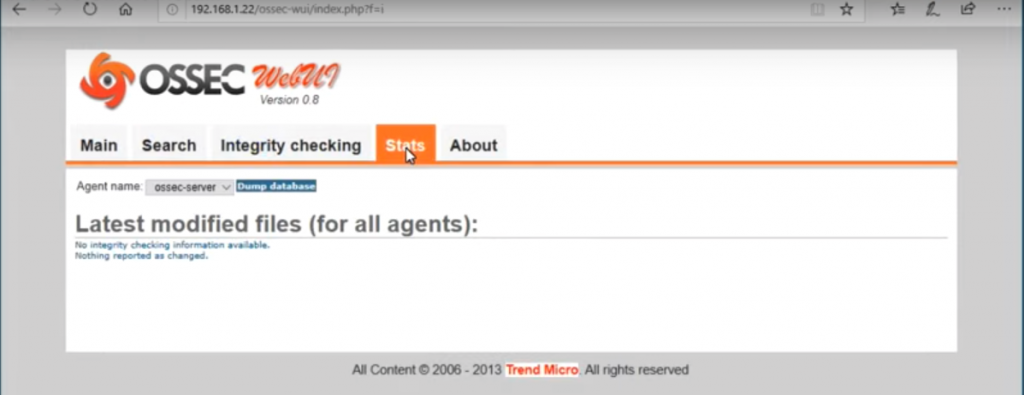
7. Open browser and navigate to http://your-servers-ip/ossec-wui
To see how to install the agent /client on a windows desktop for the Youtube recording of this install to 14:38
—End—
In this walk-through we will take you through the steps to configure your IPFire as a IDS & IPS. Then use Kali demonstrate how it works.
IPFire – https://www.ipfire.org
Kali – https://www.kali.org