This post is in response to a request we received via a comment from our youtube.com/HendGrow channel on a guide on RT installation.
NOTE: This guide and the included script will only work if you have followed our guide on installing an RT5 base with our script. (Scrtip is editable and can be found within guide [45] REQUEST TRACKER – ONE SCRIPT INSTALL!
Refresh your browser, you should now see an RTIR tab as shown in the below image.
—End—
There is still a lot to do, like configuring the domain to use, SSL, RT email gateway, task scheduler, full-text search, general system security etc etc….
If you would rather have the Virtual machine in OVA format we used in this guide? Reach out details on our contact page.
This guide does not cover server/application hardening, or security as it is a broad topic dependent on many variables and not the aim of this guide. That’s potentially for a future guide should there be demand.
Consider subscribing & following us if you find this content helps! It enables this type of content to reach others who might also find it useful & valuable. Also, feel free to leave a comment or message directly if you have questions:
Due to the popularity, good feedback, and support requests we received for our original request tracker guide, we decided to respond to a request to look at how to automate this installation a bit more than the previous guide. So, we created an install script that installs Request Tracker 5.0.7 from a base Ubuntu server to the point of the web UI login. An overview diagram is below.
Below is the Bash installation script to install Request Tracker (RT) 5.0.7 on an Ubuntu 24.04.2 LTS base server. (Should work on any Debian-based system 😉). This script assumes a fresh system, installs the necessary dependencies, downloads RT 5, configures it with MariaDB as the database, and sets up Apache as the web server. It’s designed to be run as root (using sudo) and includes basic error handling.
Please note:
This script is tailored for a typical setup and may need adjustments based on your specific environment.
It uses the latest stable version of RT 5 (5.0.7) available as of March 2025
You should first review and test this script in a non-production environment.
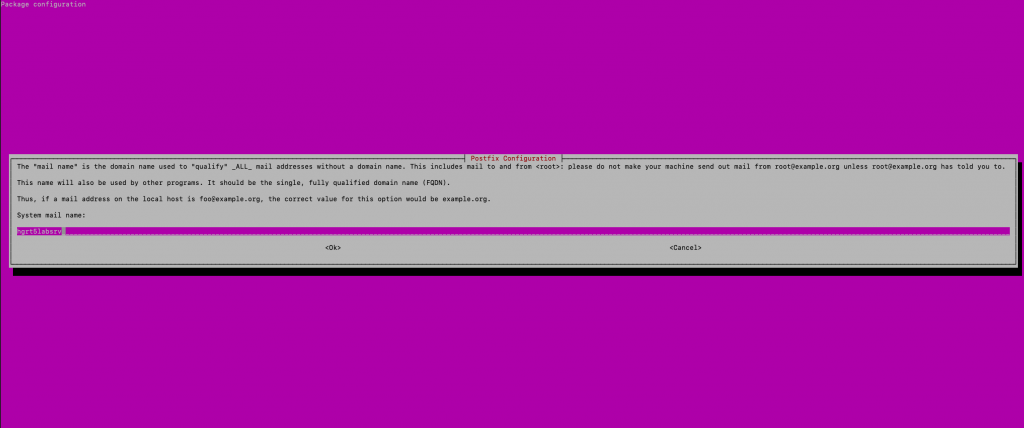
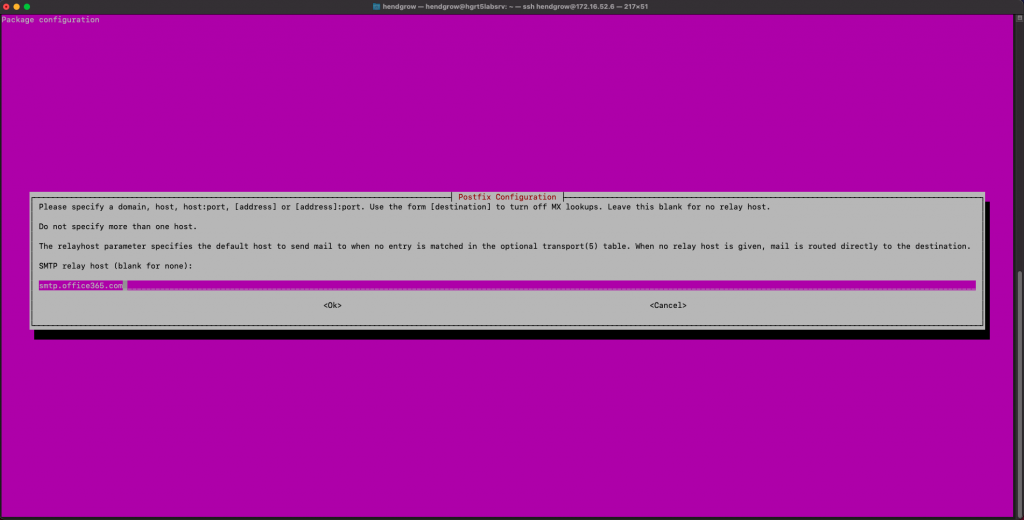
During the installation, you will receive prompts that require a response. Below, I have captured the responses we used for the prompts during the creation of this walk-through guide.
1st prompt: Would you like to configure as much as possible automatically? [yes] –> Response = yes
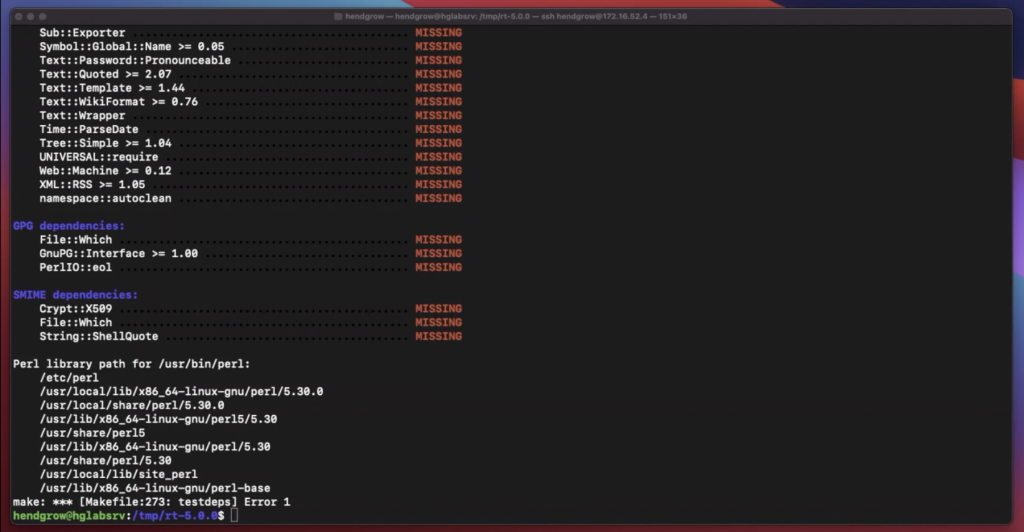
Note: Don’t be concerned about seeing the MISSING messages. the script will rectify this at a later stage.
2nd prompt: Continue anyways? [y] –> Response = y
3rd prompt: Check for a new version of the Public Suffix List? [N] –> Response = N
4th prompt: Do you want to run external tests? These tests *will* *fail* if you do not have network connectivity. [n] –> Response = n
5th prompt: These test will detect if there are network problems and fail soft, so please disable them only if you definitely dont’t want to have any network traffic to external sites. [Y/n] –> Response = Y
6th prompt: Do you want to build the XS Stash module? [y] –> Response = y
7th prompt: Do you want to use the XS Stash by default? [y] –> Response = y
8th prompt: Password: –> Just press the return/enter key.
Open your browser and enter the IP Address of your server. In our example it is
192.168.2.125
Login with Username = root & Password = password
How to remove the “Possible cross-site request forgery” message RT 5.0.7 will show when making changes via the Web UI.
Possible Cross-site request forgery message RT5
Edit the RT_SiteConfig.pm and add your server’s IP Address. this will remove the “Possible cross-site request forgery” message.
Steps below:
sudo vi /opt/rt5/etc/RT_SiteConfig.pm
Set( $WebDomain, 'your-servers-ip' );
or
Set( $WebDomain, 'your-domain' );
Restart Apache
sudo systemctl restart apache2
—End—
If you would rather have the Virtual machine in OVA format we used in this guide? Reach out details on our contact page.
If you got to this stage of the guide, congratulations you now have a basic installed and working instance of Request Tracker 5.0.7! There is still a lot to do, like configuring the domain to use and linking it, SSL, RT email gateway, task scheduler, full-text search, general system security etc etc.
This guide does not cover server/application hardening, or security as it is a broad topic dependent on many variables and not the aim of this guide. That’s potentially for a future guide should there be demand.
Consider subscribing & following us if you find this content helps! It enables this type of content to reach others who might also find it useful & valuable. Also, feel free to leave a comment or message directly if you have questions:
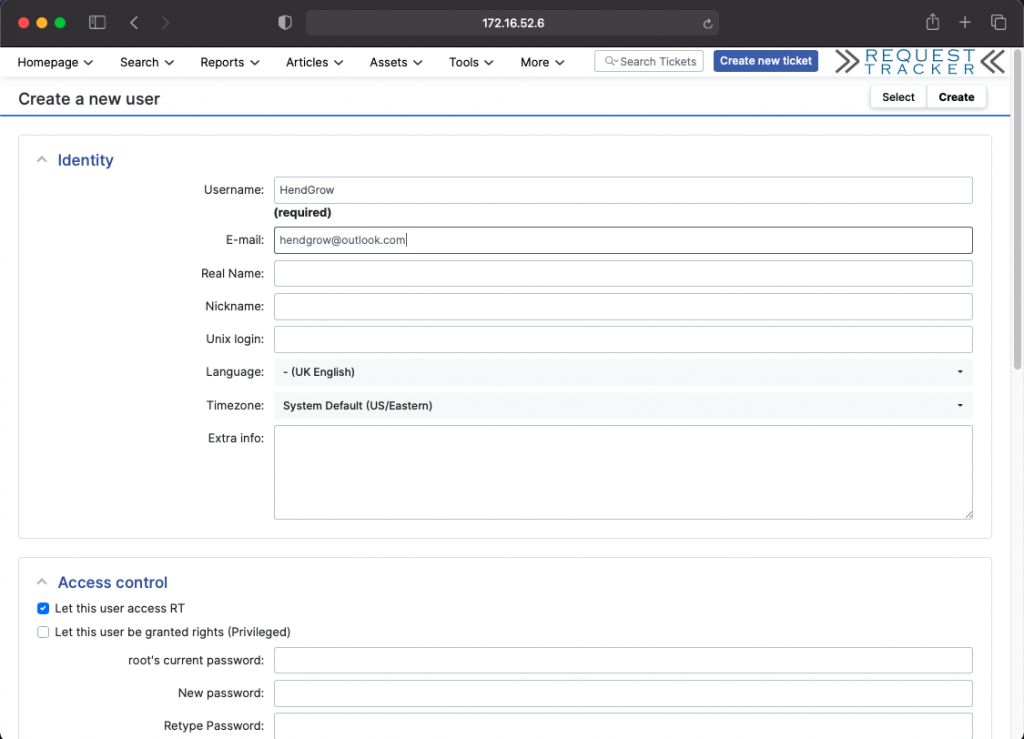
Login to RT and Create a new user for use with this email address. We will create user HendGrow that will be used to respond to support requests.
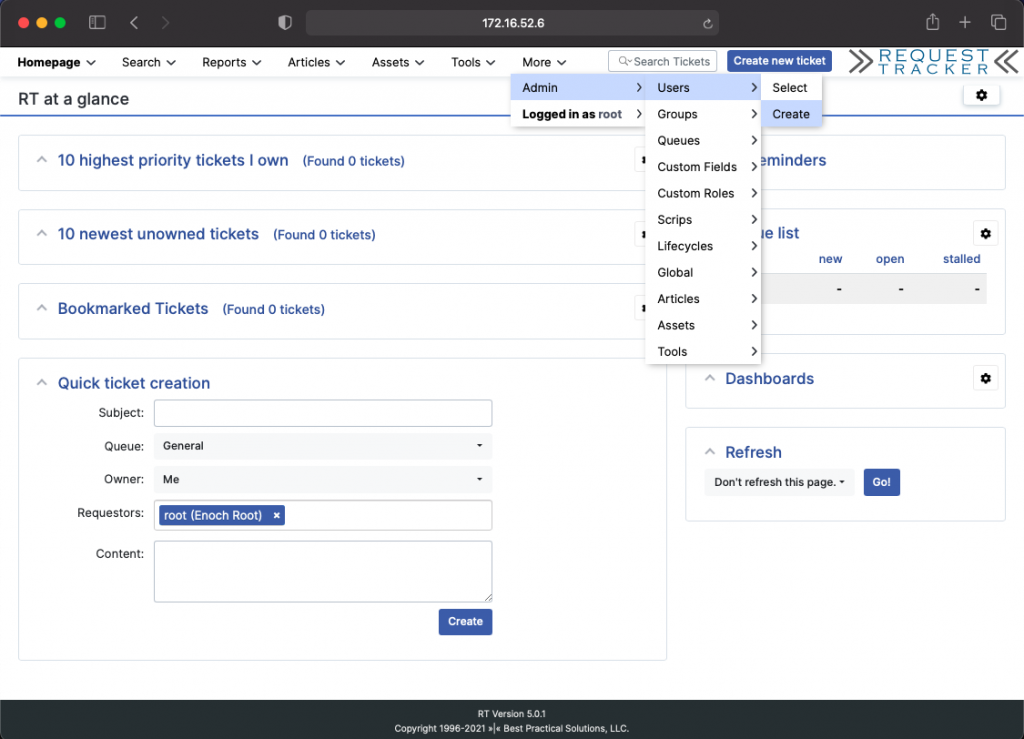
Login to your RT instance and create the support user /user as shown below
Admin -> Users -> Create
Under “E-Mail” capture the email address you wish to use. in our case it is hendgrow@outlook.com
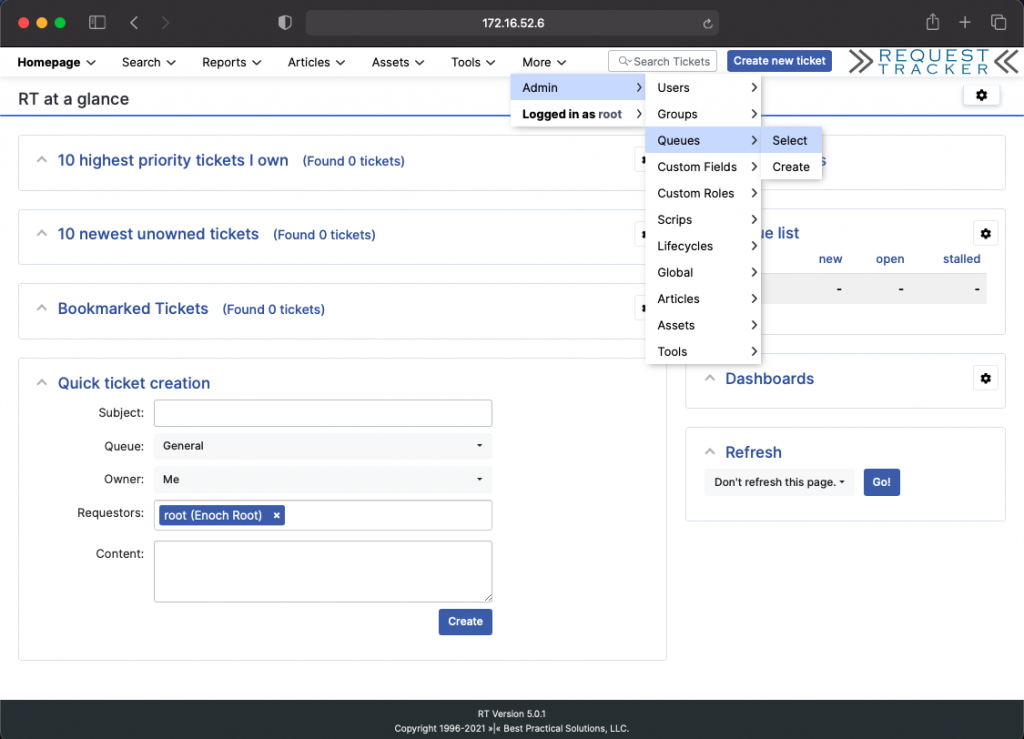
Grant permissions to General queue for the new support user.
Admin -> Queues-> Select
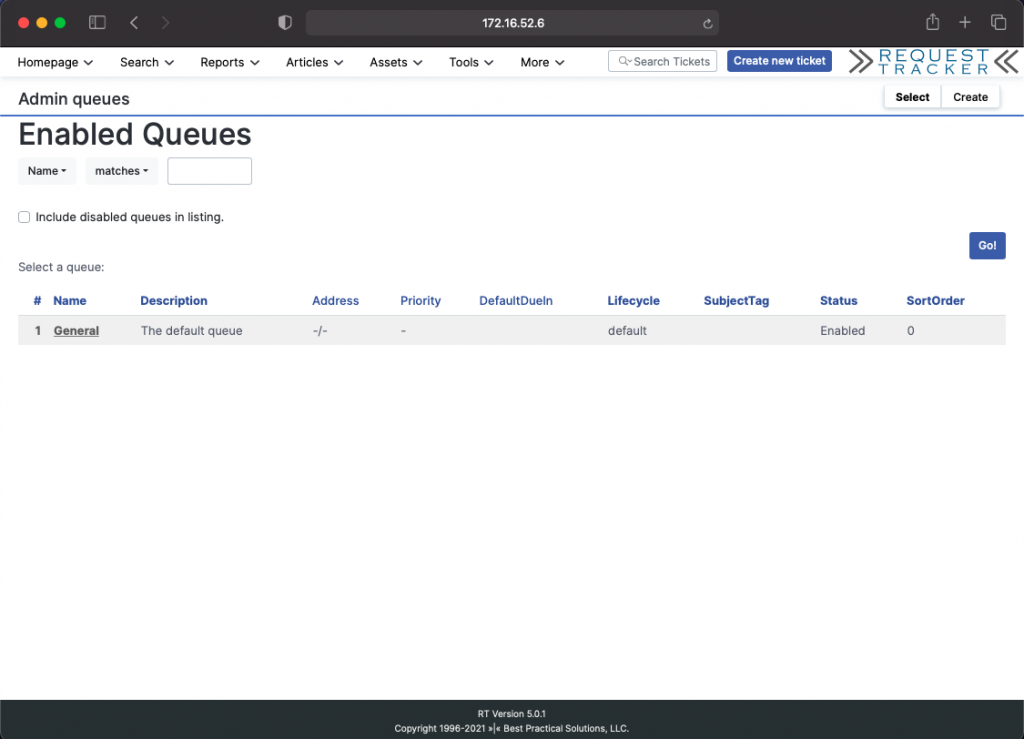
Select the General queue
Select User Rights
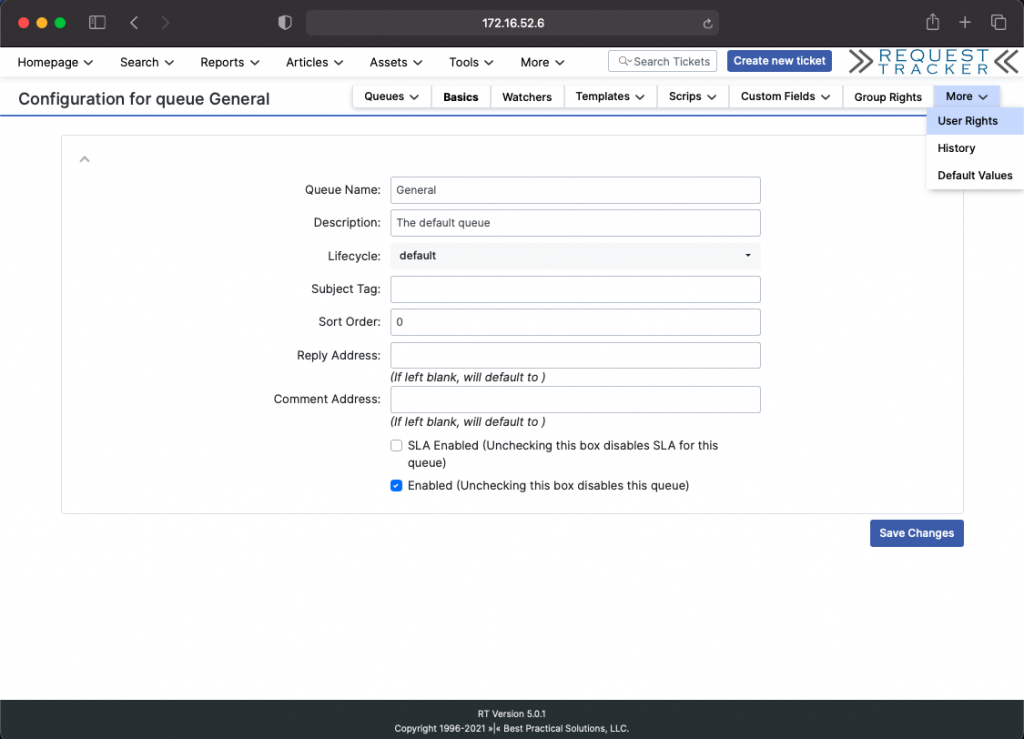
Select the user and assign the required permissions.
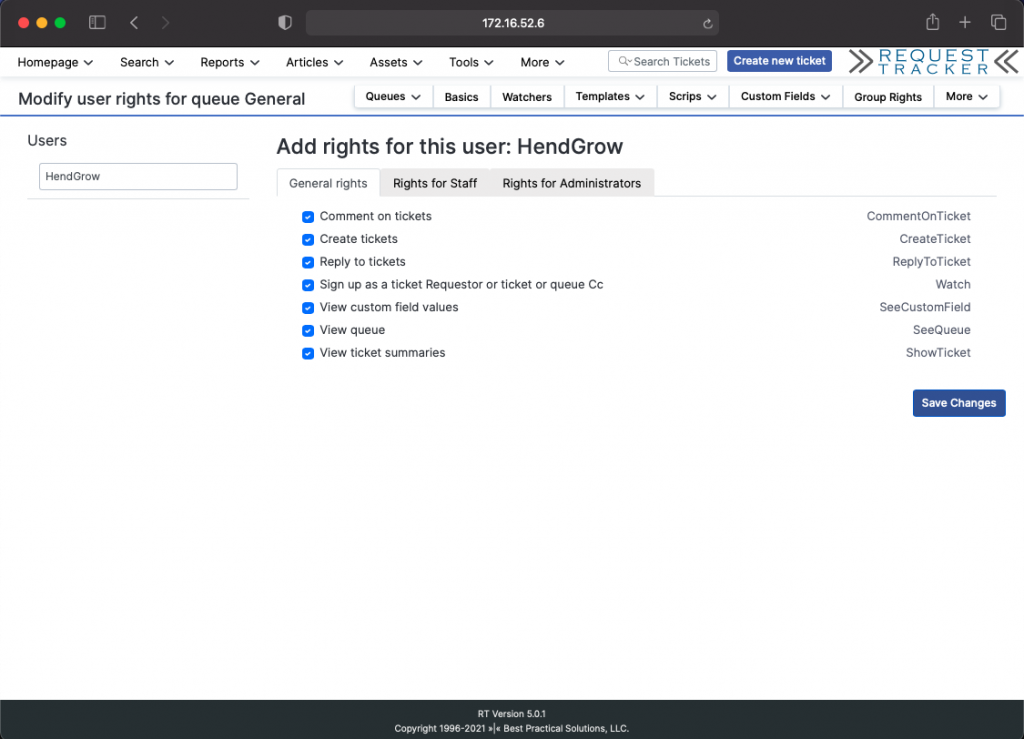
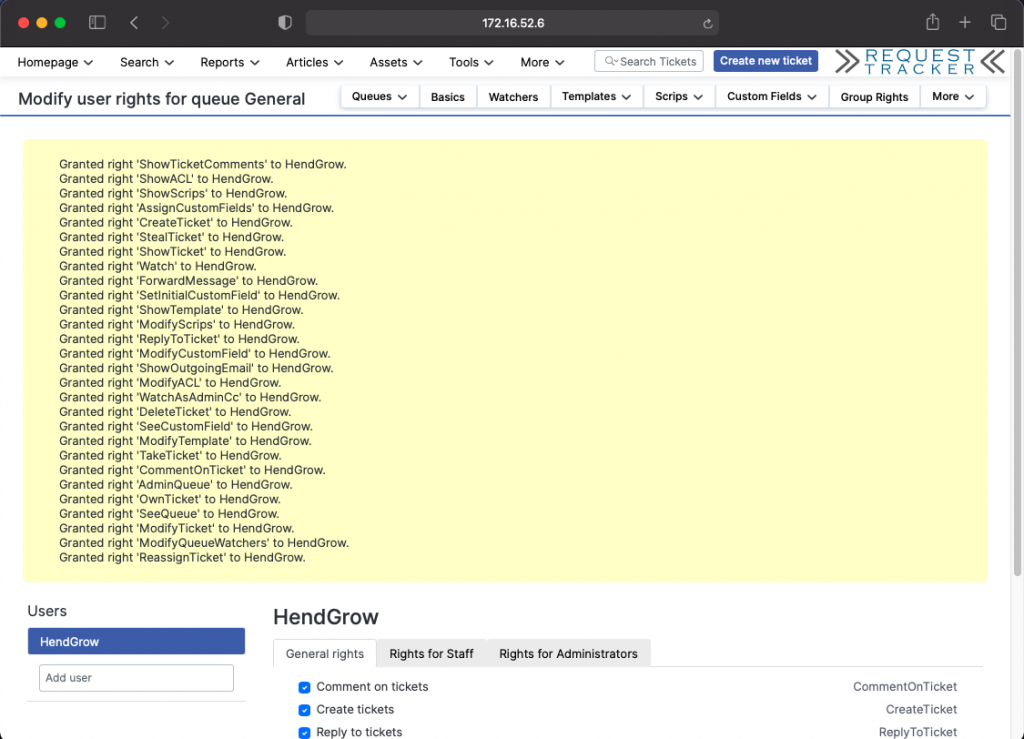
Apply changes by clicking Save Changes
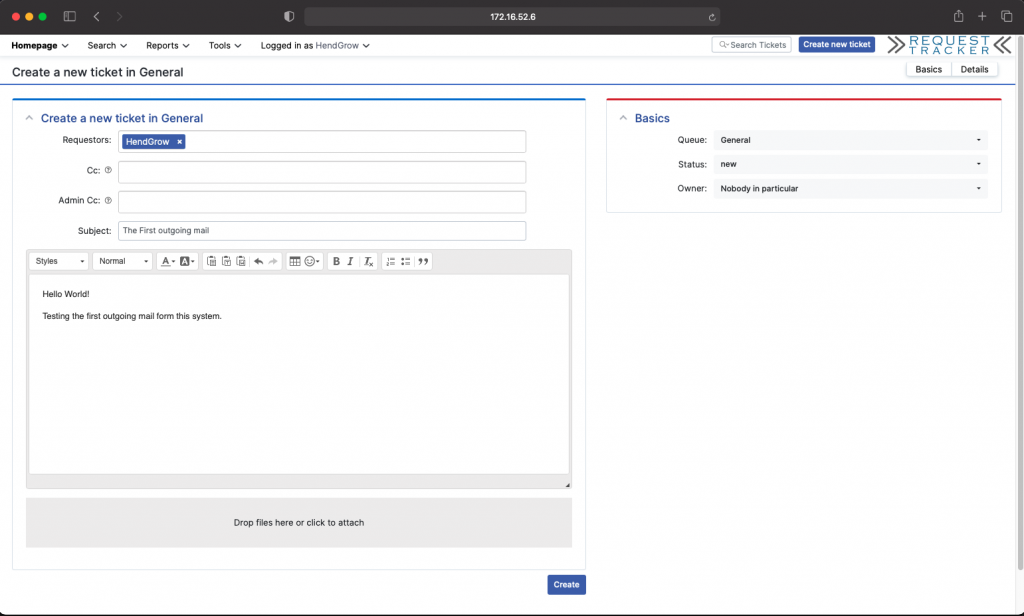
Testing outgoing mail
login as the support user you created in the previous step. Send a test mail to confirm postfix is working with office365.com by creating a new ticket.
On the RT server check the /var/log/mail.log log file for any issues. You should get a response as below. we looking for the status=sent
tail -20f /var/log/mail.log
Installing and configuring Fetchmail
To enable RT to fetch mail from our mailbox and generate tickets we need to install fetchmail.
ssh to your RT server
ssh hendgrow@172.16.52.6
Install Fetchmail
sudo apt-get install fetchmail
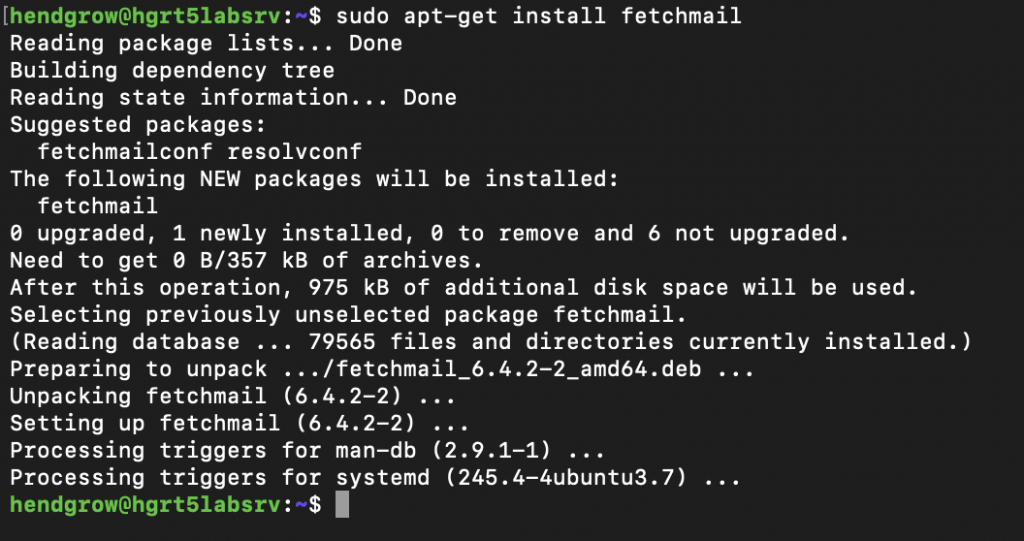
Ensure that fetchamail is not running and create the fethcmailrc file.
sudo service fetchmail stop
sudo vi /etc/fetchmailrc
Our config used during this how-to can be found here – > fetchmailrc
Navigate back to RT and set create permissions for “Everyone” on the General Queue.
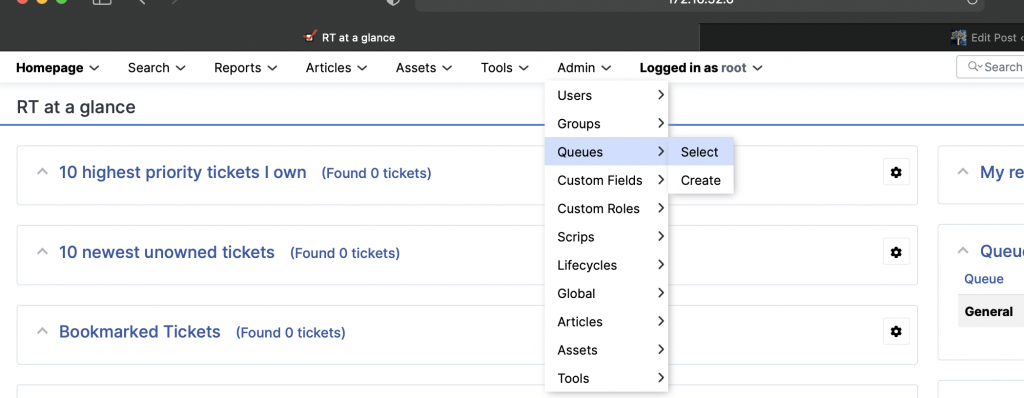
Admin -> Queues -> Select
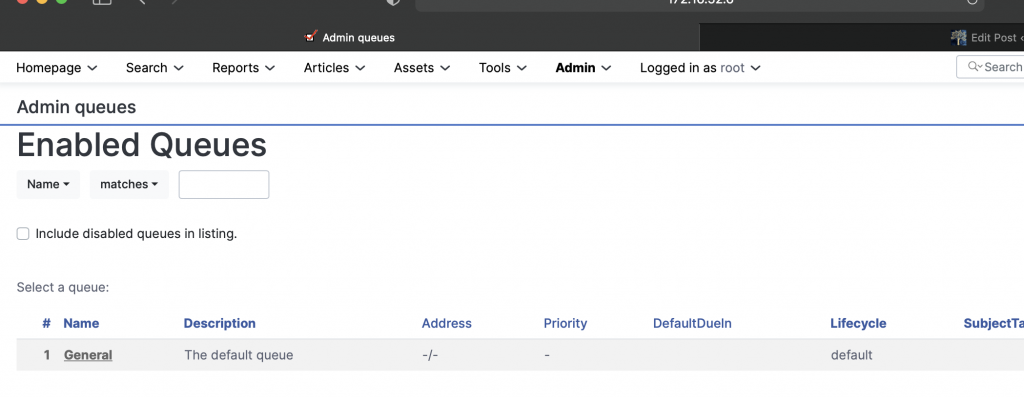
Select General
Grant Everyone “Create Tickets” rights.
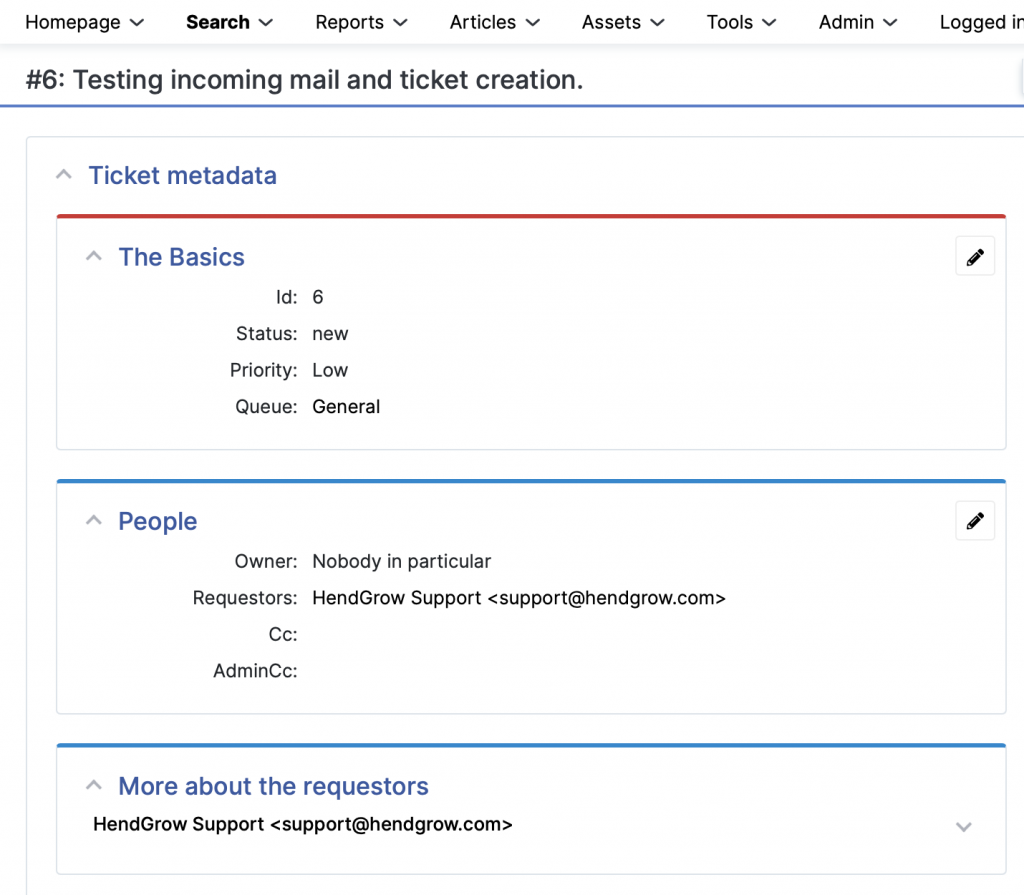
Testing incoming mail and ticket generation.
Send an email to the mailbox so fetchmail has content it can fetch. (We sent a mail from support@hendgrow.com to our mailbox hendgrow@outlook.com)
Set permissions and run fetchmail manually for the test.
sudo chmod 0700 /etc/fetchmailrc
sudo fetchmail -f /etc/fetchmailrc
Login to RT and verify a new ticket has been created for the incoming email.
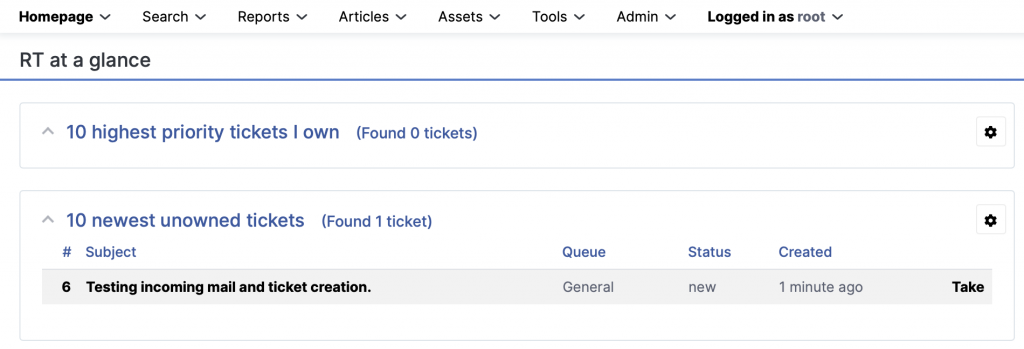
Edit the crontab to ensure fetchmail checks for new mail in the mailbox every 5min.
sudo crontab -e
Add the following line
*/5 * * * * fetchmail -f /etc/fetchmailrc
Your RT5 ticket system should now have the capability of sending and receiving emails for ticket creation and correspondence.
This walk-through guides you through the process of installing the world class, industry-tested ticket system known as Request Tracker or RT. We start with a solid Ubuntu 20.04 base as the server combined with Perl, MariaDB for the Database and Apache2 as the web server.
2.2 Extract / unpack the file to /tmp and run the ./configure script provided.
tar xzvf rt-5.0.1.tar.gz -C /tmp
cd /tmp/rt-5.0.1/
sudo ./configure
2.3 Ensure the required Perl and system libraries are installed with the command below.
sudo make testdeps
2.2.1 If the script reports any missing dependencies as shown image Image-1 below run the fixdeps command.
sudo make fixdeps
Image-1
2.2.3 During our demo install we were promoted with the following three questions as shown in Image-3 while running the fixdeps script. We opted to answer yes.
Image-2
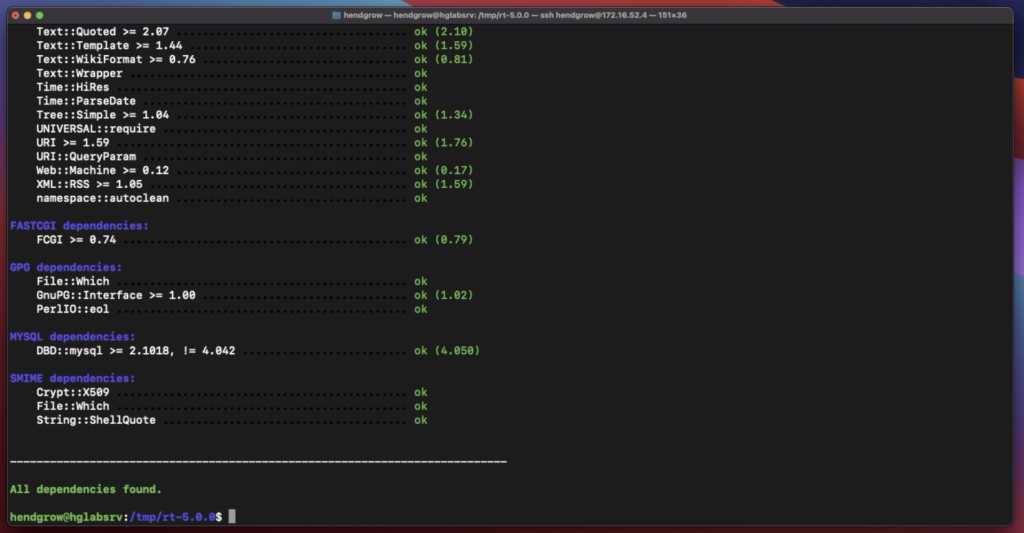
Once the fixdeps script is complete, validate all dependencies are present by running the testdeps script to confirm. If successful you should see similar out put as Image-3 below
sudo make testdeps
Image-3
2.3 Run the make install with appropriate permissions to install RT5
sudo make install
3 Initialise the Database for RT5
sudo make initialize-database
It will prompt you for a password. just press return/enter key.
Note: Only if the initialization fails run make dropdb and then re-run make initialize-database.
Once completed successfully you should see same result as shown in Image-4
Image-4
3.1.1 Change the default password for the RT database user. (We recommend for production systems to also change the user.)
sudo mysql -u root -p
It will prompt you for a password. just press return/enter key.
ALTER USER 'rt_user'@'localhost' IDENTIFIED BY 'your_new_rt_pass';
commit;
quit;
Although not covered in this guide, we recommend securing your MariaDB. Start with running the below script to setup up a min baseline.
sudo mysql_secure_installation
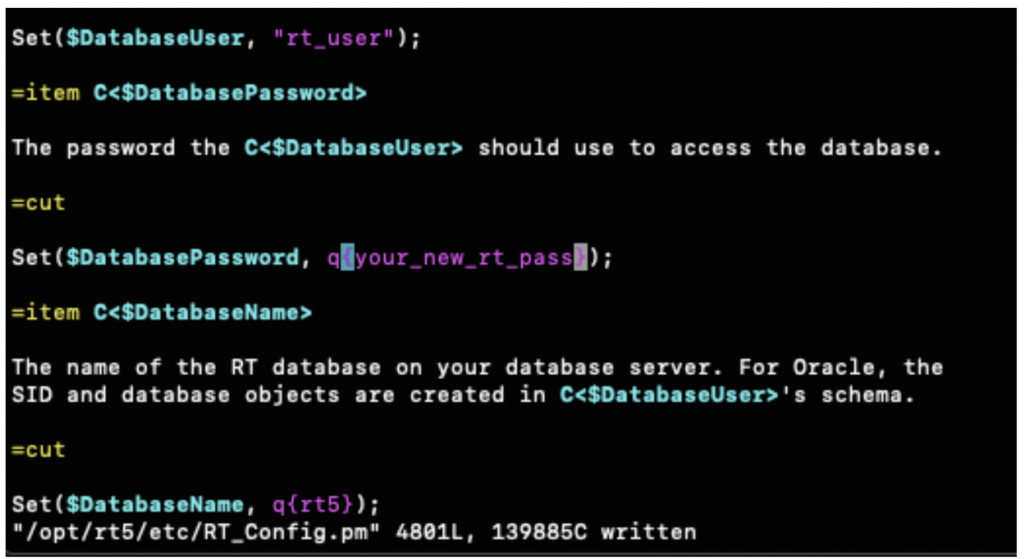
3.1.2 Update the RT_Config.pm config to reflect our password change we did for the RT database user rt_user.
sudo vi /opt/rt5/etc/RT_Config.pm
Edit the section as shown in Image-6 below
Image-6
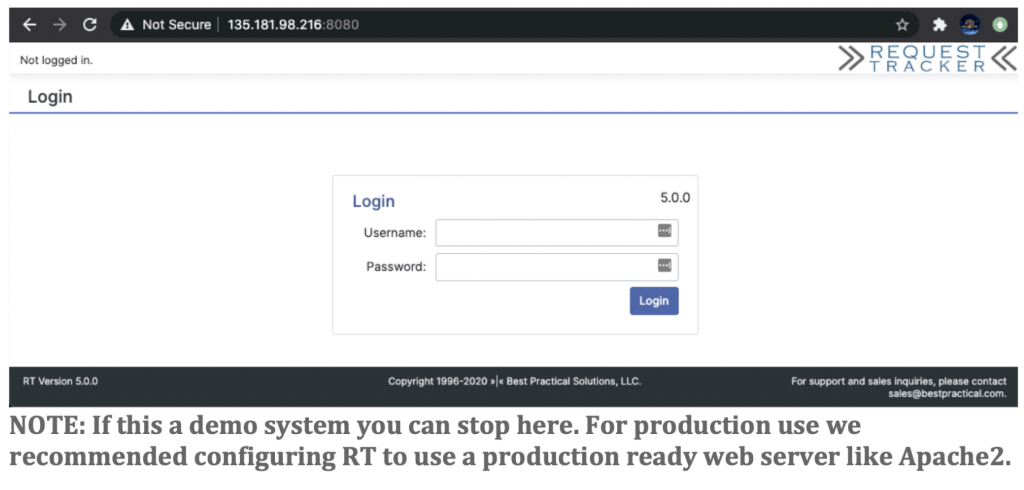
3.2 Confirm we have a working RT instance running with the standalone rt-server.
sudo /opt/rt5/sbin/rt-server --port 8080
3.2.1 Open your web browser and navigate to your servers ip or FQDN and port 8080. For our demo server it is http://135.181.98.216:8080/. You should see the login page.
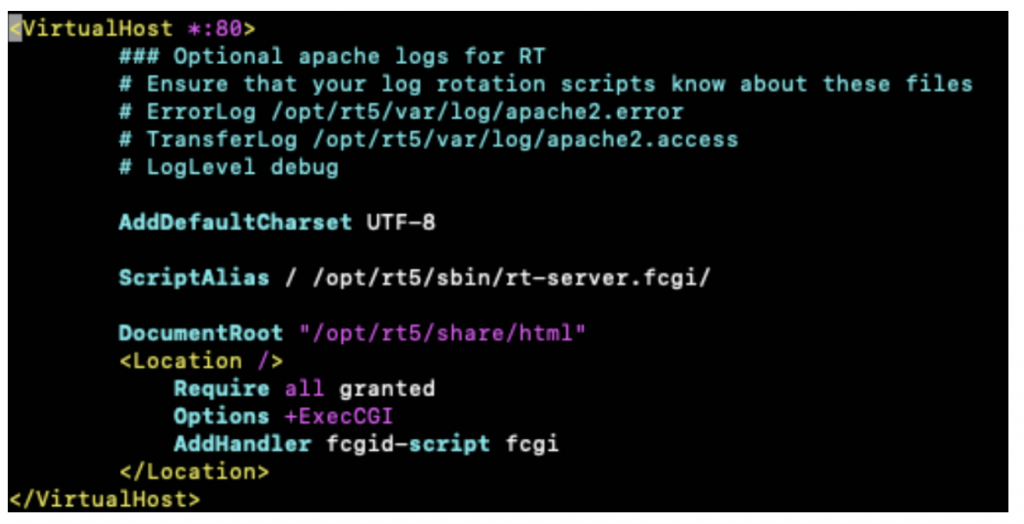
4. Configure RT5 to work with the Apache2 web server
4.1 Create a RT5 sites-available configuration file.
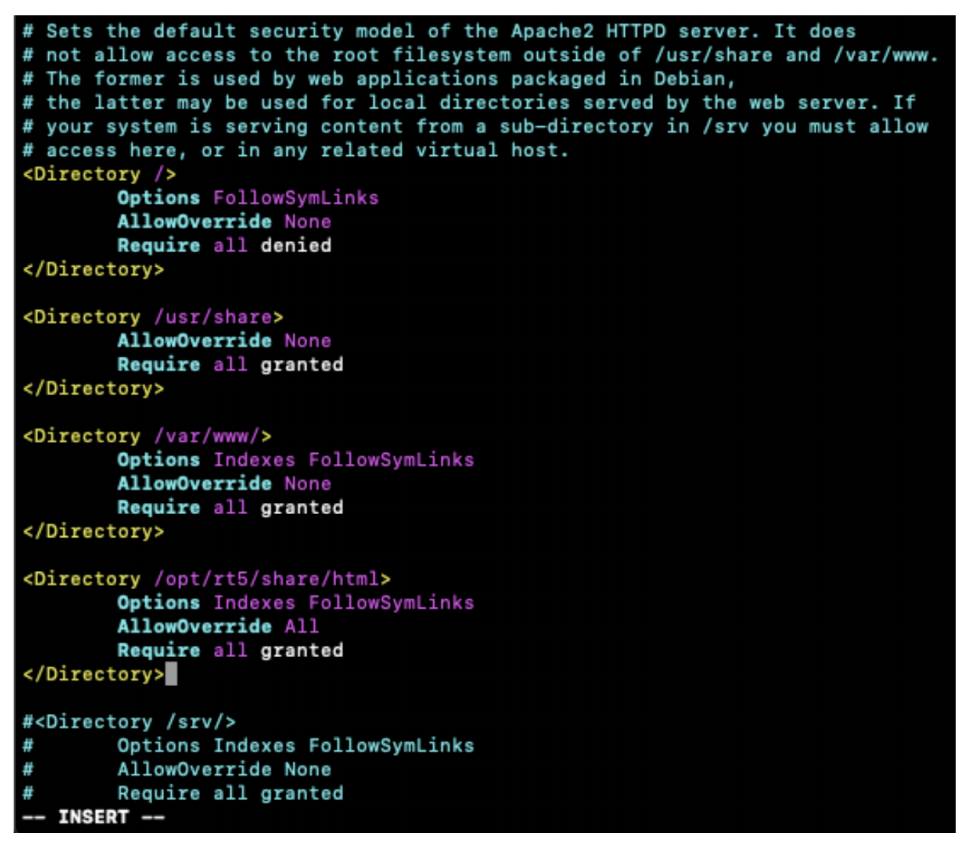
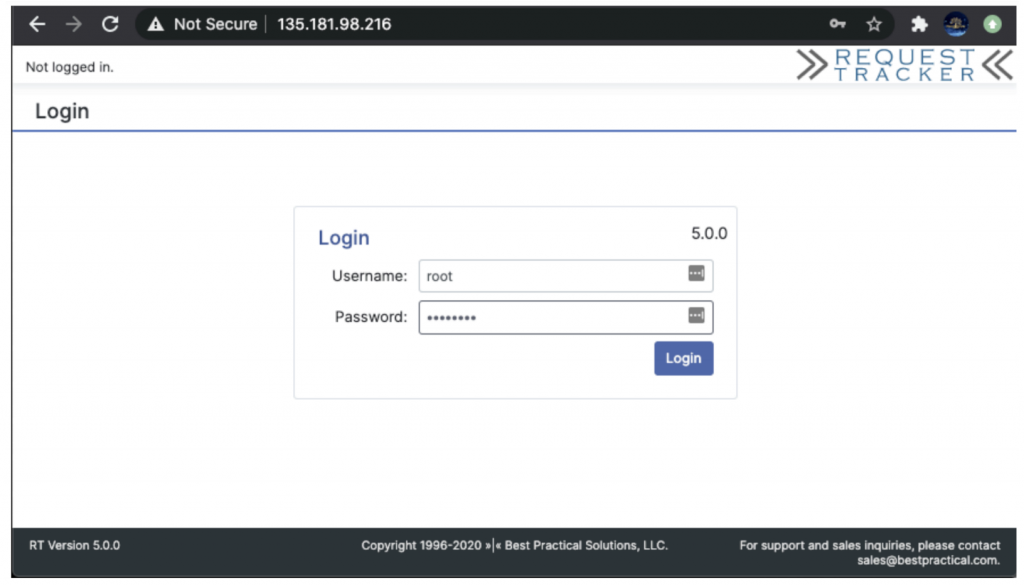
5.4 Open your web browser and navigate to your servers ip or FQDN. For our demo server it is http://135.181.98.216. You should see the login page. You should see the login page as shown in Image-7.
Image-7
NOTE: The default credentials for RT5 are: User: root | Password: password Your first step once logged in is to change the root password! It is a SECURITY risk! The next step should be to setup https for this site using letsencrypt for example.
How to remove the “Possible cross-site request forgery” RT message when creating tickets or making changes via the WUI etc.
Possible Cross-site request forgery message RT5
Edit the RT_SiteConfig.pm add an additional line to indicate your Webdomain either IP or FQDN.
Example below:
sudo vi /opt/rt5/etc/RT_SiteConfig.pm
Set( $WebDomain, 'your-servers-ip' );
Restart Apache
sudo systemctl restart apache2
There still allot to do, like configuring an RT email gateway, task scheduler, full text search and general system security etc. That’s potentially for a future guide should there be demand. This guide does not cover server / application hardening and security as it is a broad topic and not the aim of this guide. You should always harden your servers by default! Some useful links:
Secure your MariaDB installation – https://mariadb.com/kb/en/mysql_secure_installation/