—Guide Start Here–
Configure mail account
Navigate to Outlook.com and login or create a new account.
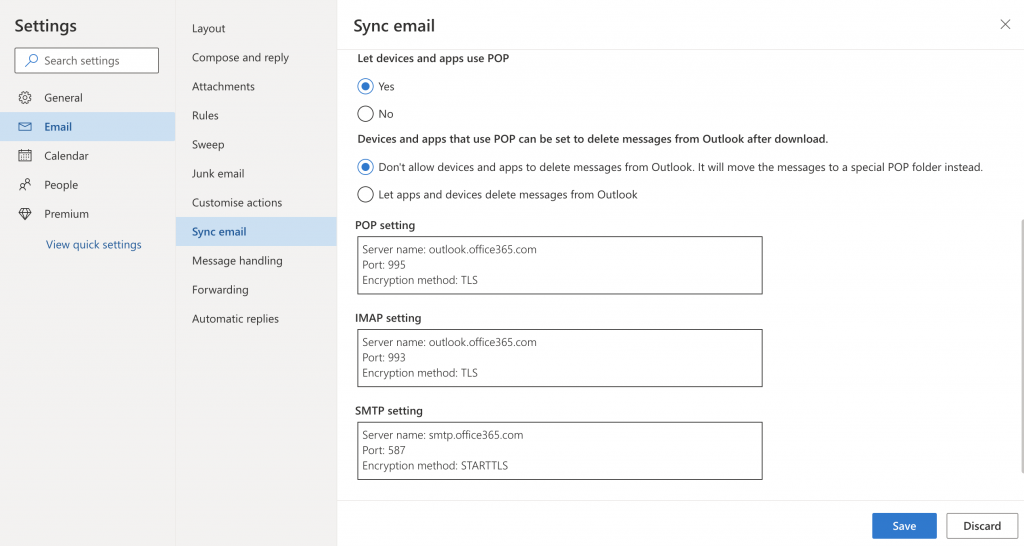
Once logged in, enable the account to use POP.
Settings -> Email -> Sync email. Set “Let devices and apps use POP” to yes.
You will also need to provision an Application Password.
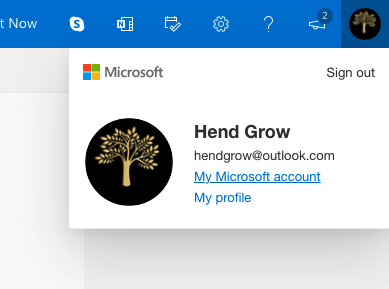
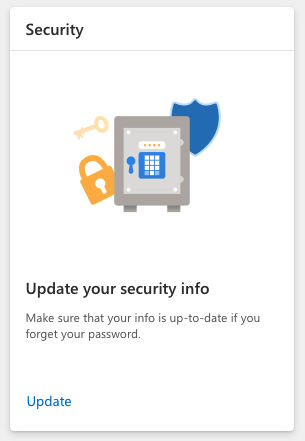
Select My Account
Then Security -> Update
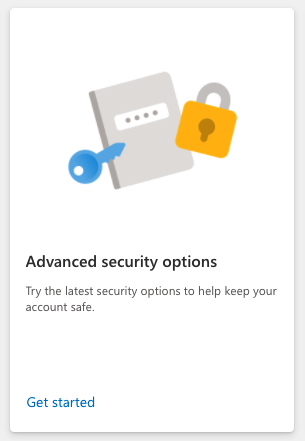
Advanced security options -> Get Started
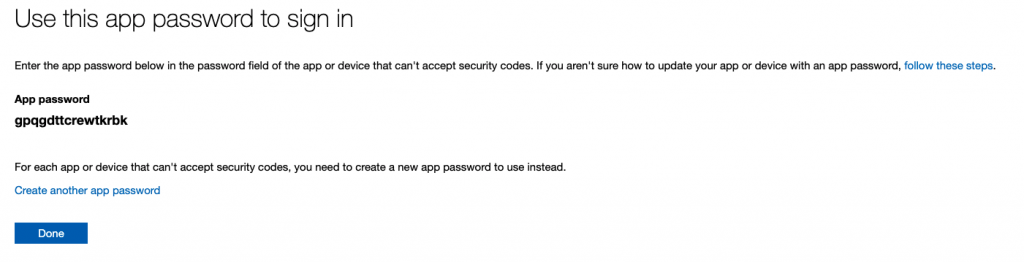
App passwords -> Create a new app password

Copy your app password that was generated we will use this later in postfix and fetchmail
Install and configure Postfix
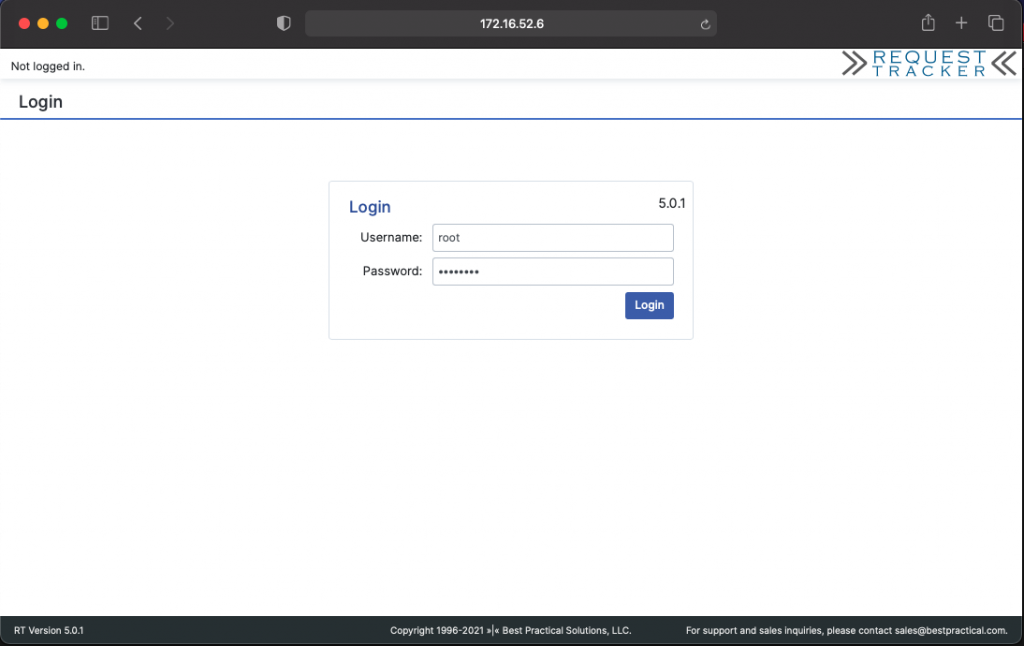
Now that the Outlook.com portion is sorted lets login to our RT5 server
ssh to your RT server
ssh hendgrow@172.16.52.6
Install Postfix
sudo apt-get install postfix
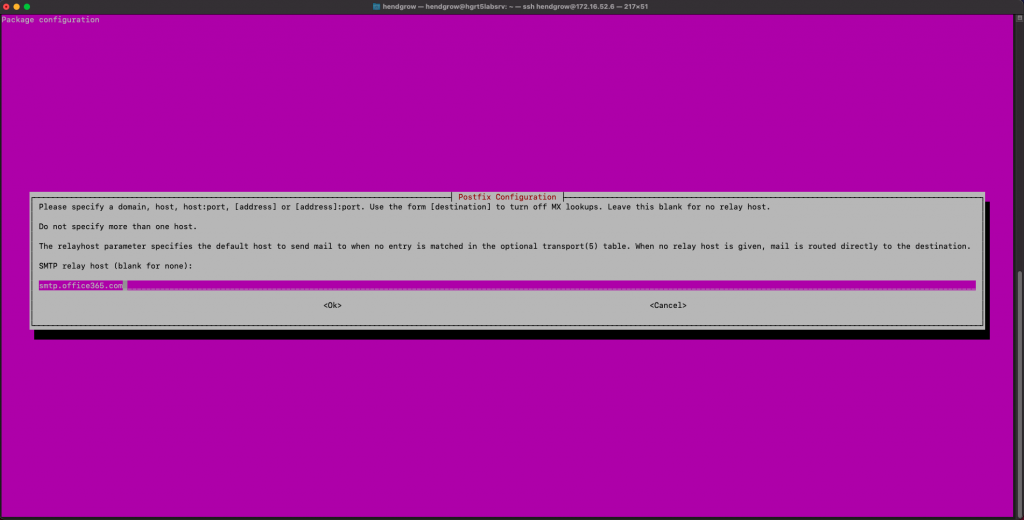
Select “Internet with smarthost”
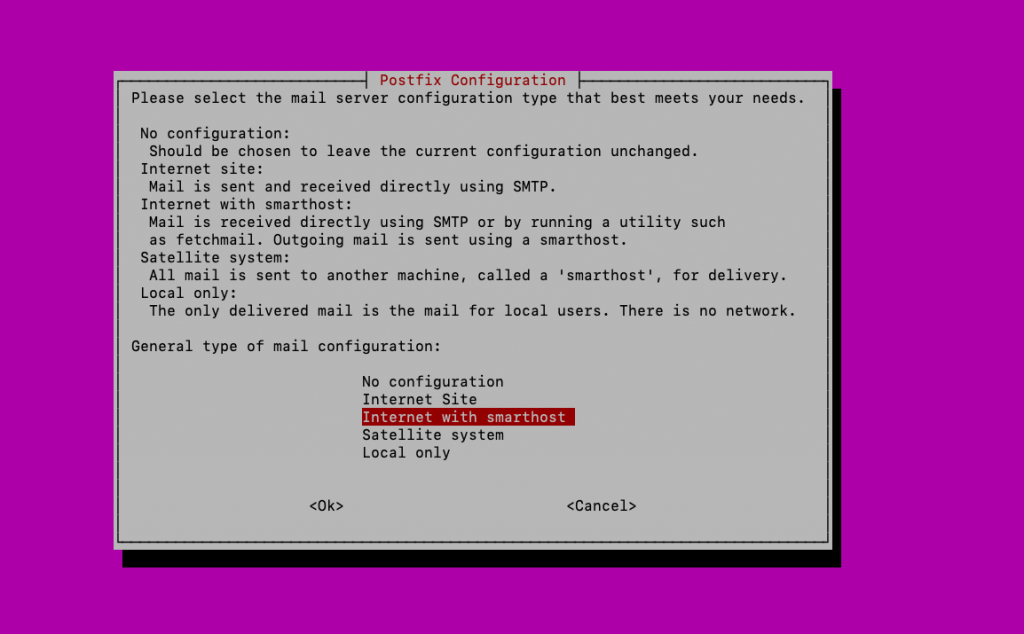
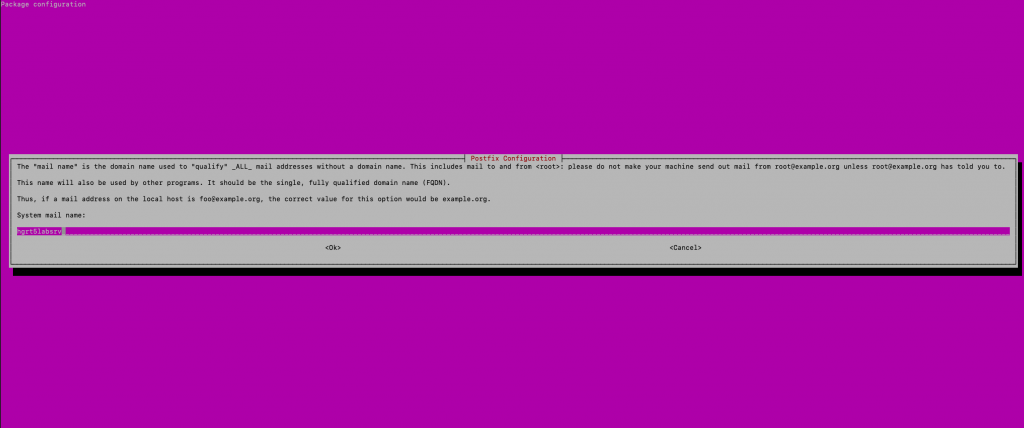
Enter the SMTP server for Outlook.com = smtp.office365.com
We now need to edit a few things for Postfix to work as expected by editing the main.cf file and add the below
Our config used during this how-to can be found here – > HendGrow_Sample_Main.cf
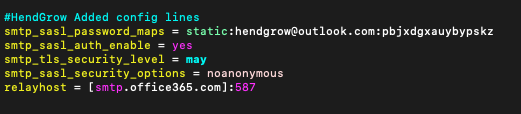
sudo vi /etc/postfix/main.cf
smtp_sasl_password_maps = static:hendgrow@outlook.com:pbjxdgxauybypskz
smtp_sasl_auth_enable = yes
smtp_tls_security_level = may
smtp_sasl_security_options = noanonymous
relayhost = [smtp.office365.com]:587
Restart Postfix for the changes to take
sudo service postfix restart
RT user creation and assign mail address.
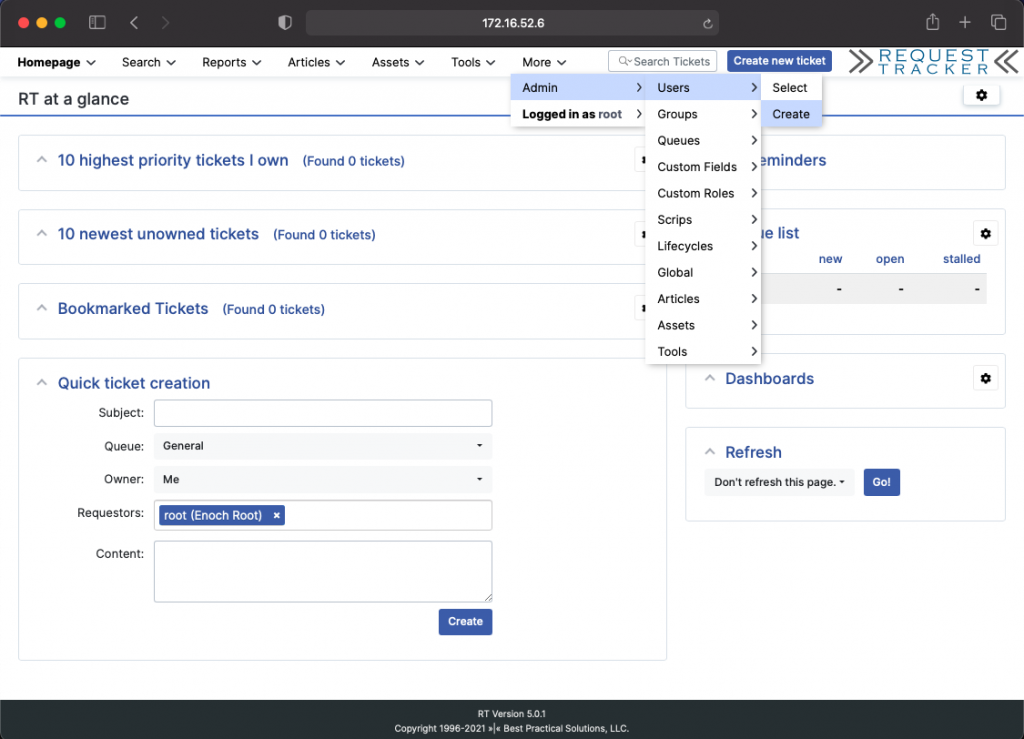
Login to RT and Create a new user for use with this email address. We will create user HendGrow that will be used to respond to support requests.
Login to your RT instance and create the support user /user as shown below
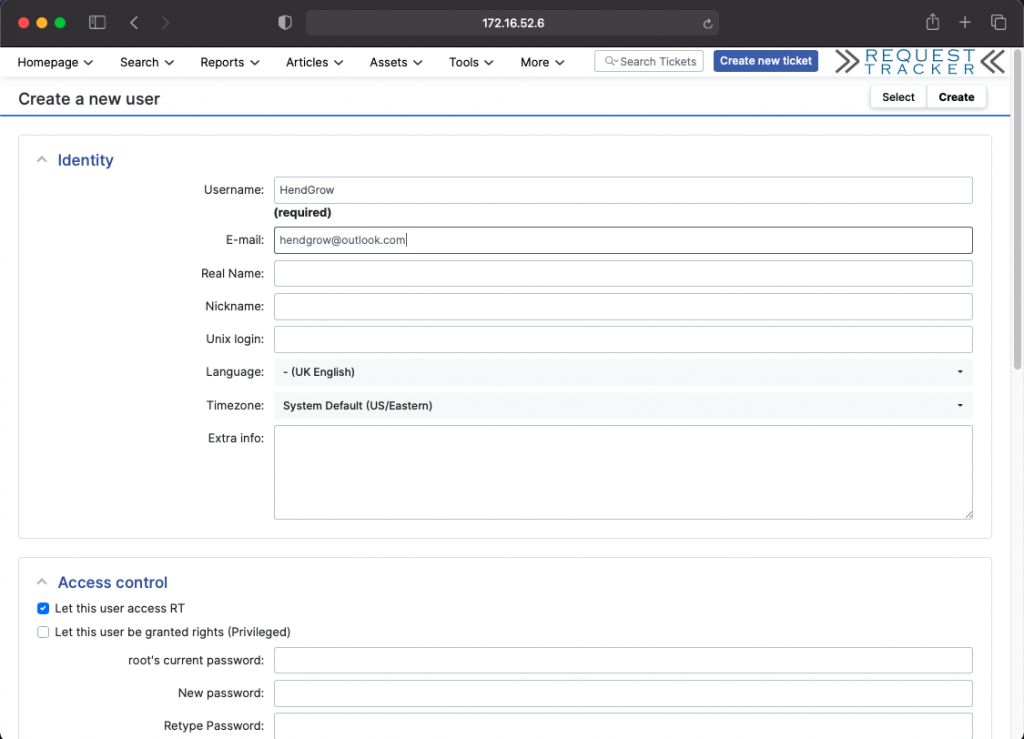
Admin -> Users -> Create
Under “E-Mail” capture the email address you wish to use. in our case it is hendgrow@outlook.com
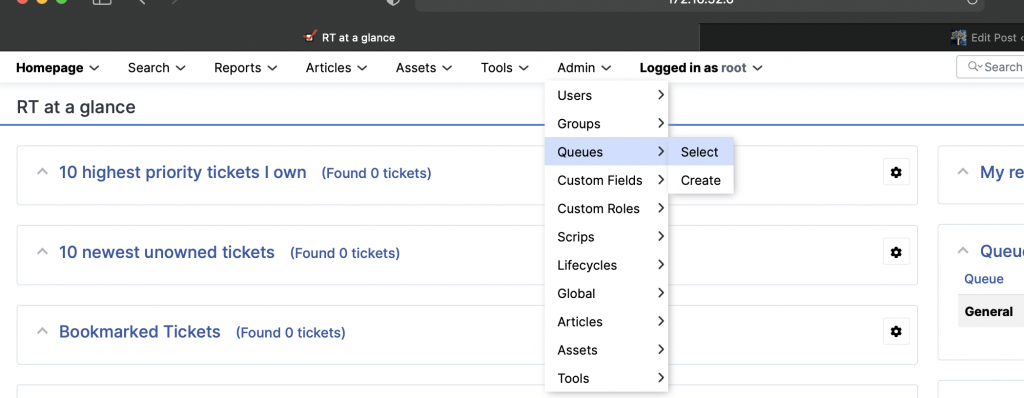
Grant permissions to General queue for the new support user.
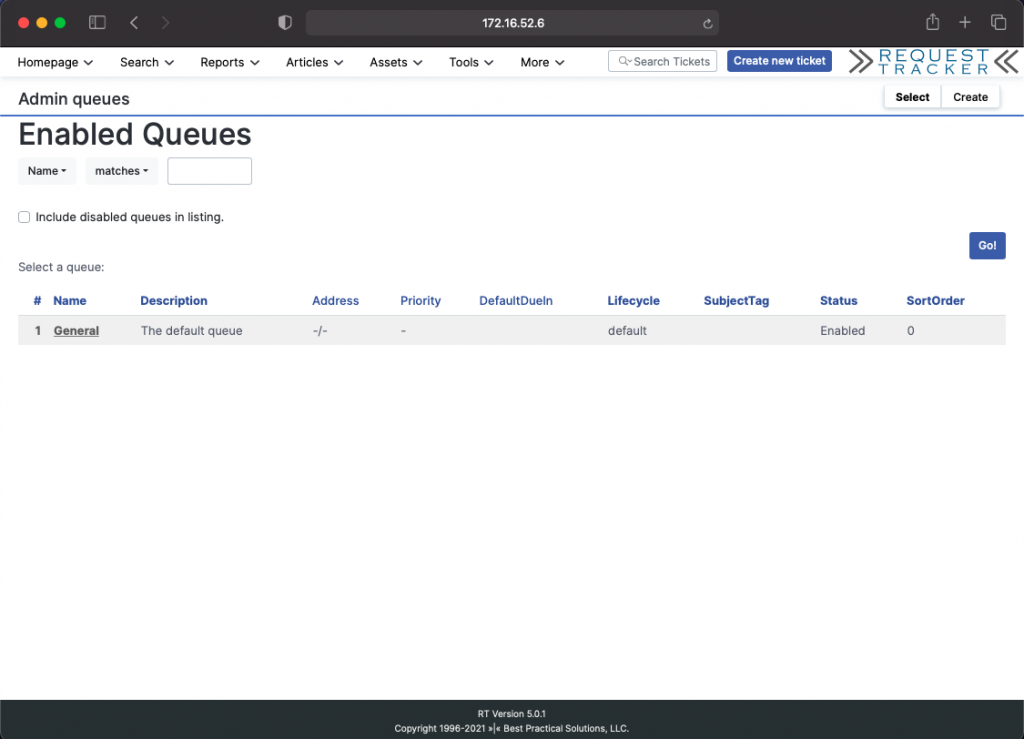
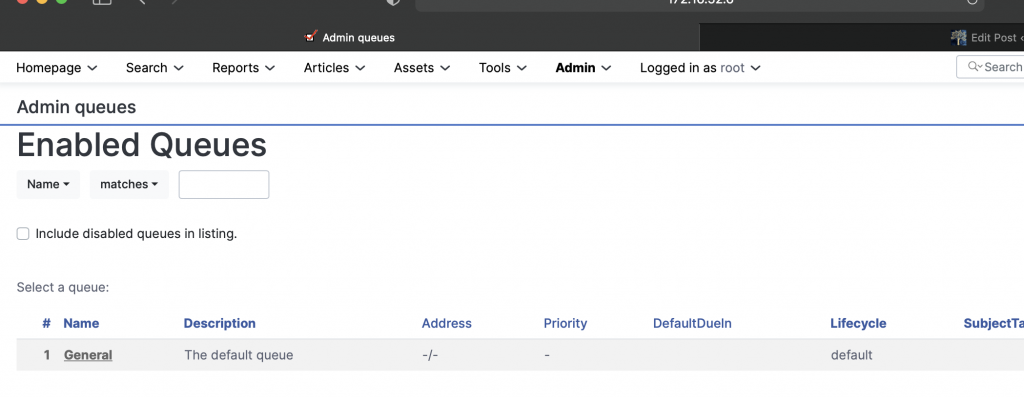
Admin -> Queues-> Select
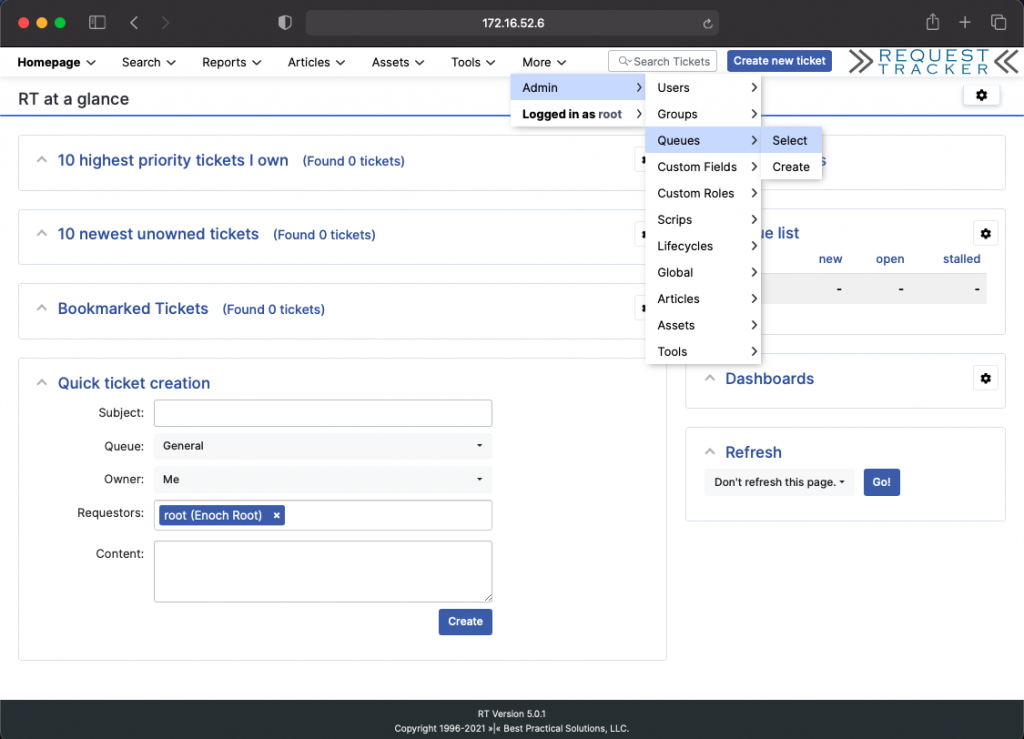
Select the General queue
Select User Rights
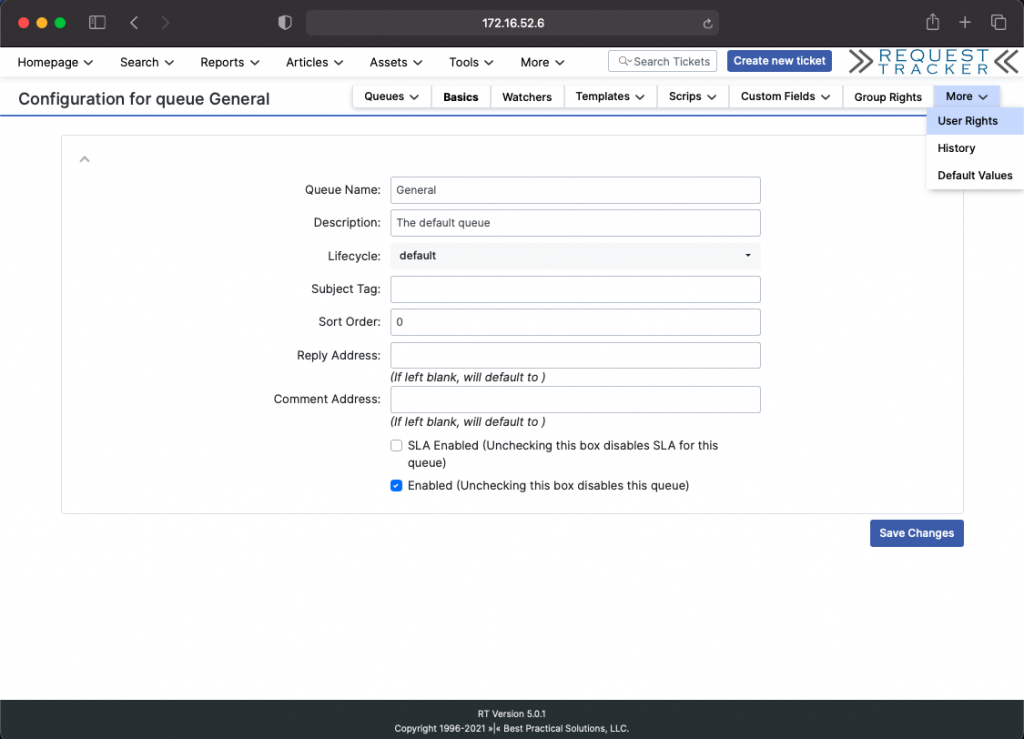
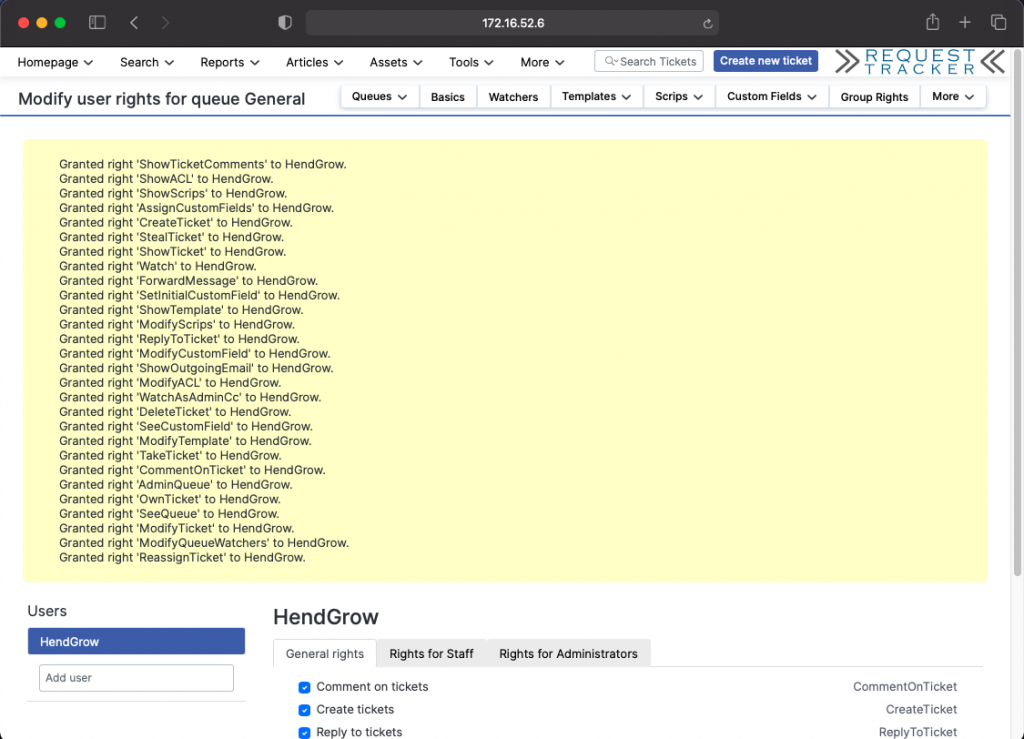
Select the user and assign the required permissions.
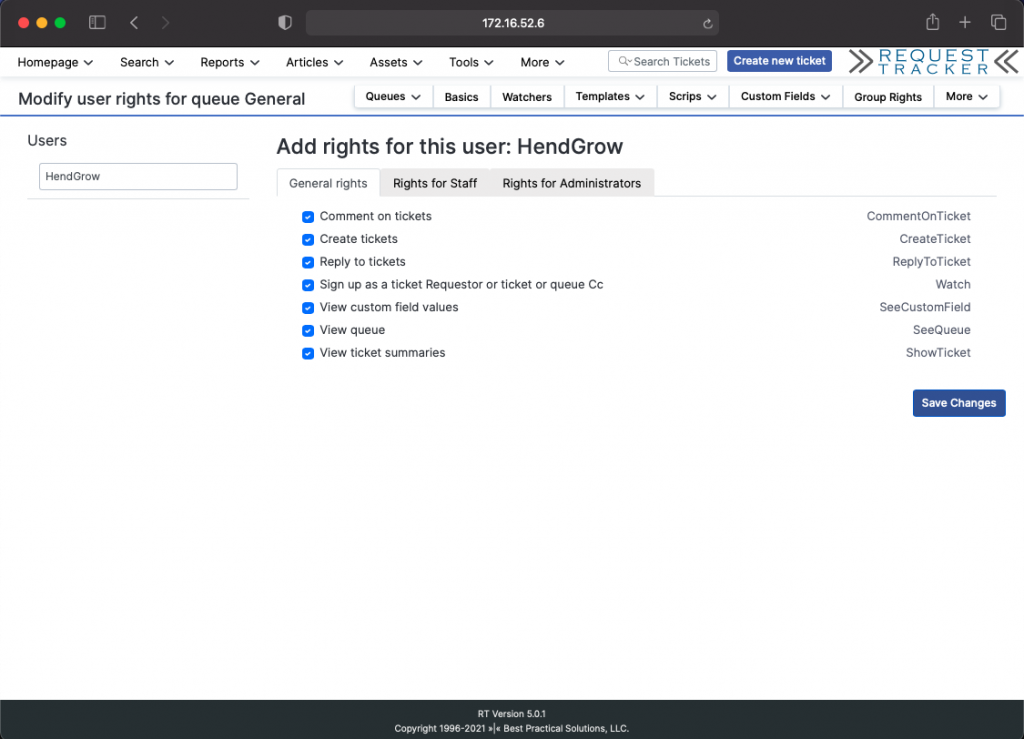
Apply changes by clicking Save Changes
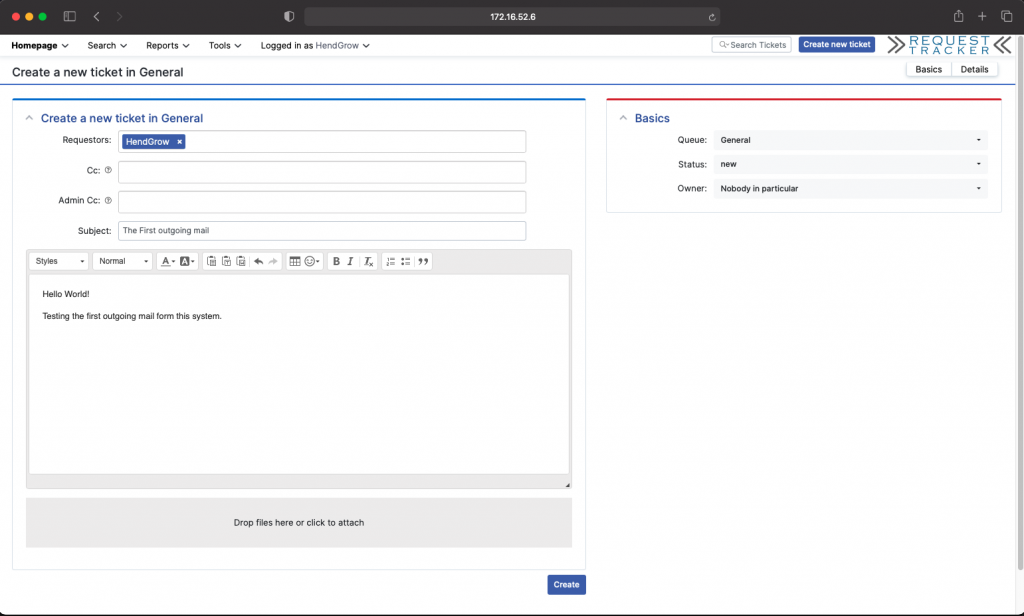
Testing outgoing mail
login as the support user you created in the previous step. Send a test mail to confirm postfix is working with office365.com by creating a new ticket.
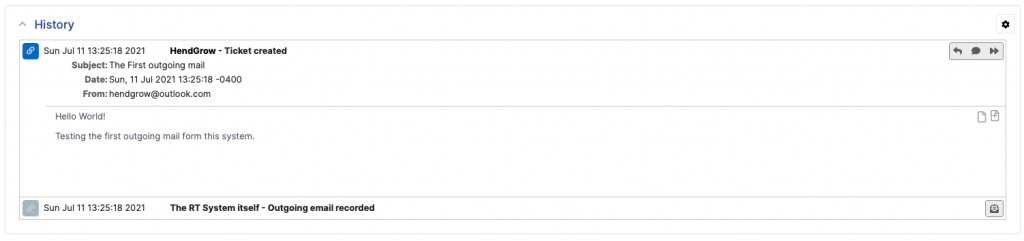
On the RT server check the /var/log/mail.log log file for any issues. You should get a response as below. we looking for the status=sent
tail -20f /var/log/mail.log

Installing and configuring Fetchmail
To enable RT to fetch mail from our mailbox and generate tickets we need to install fetchmail.
ssh to your RT server
ssh hendgrow@172.16.52.6
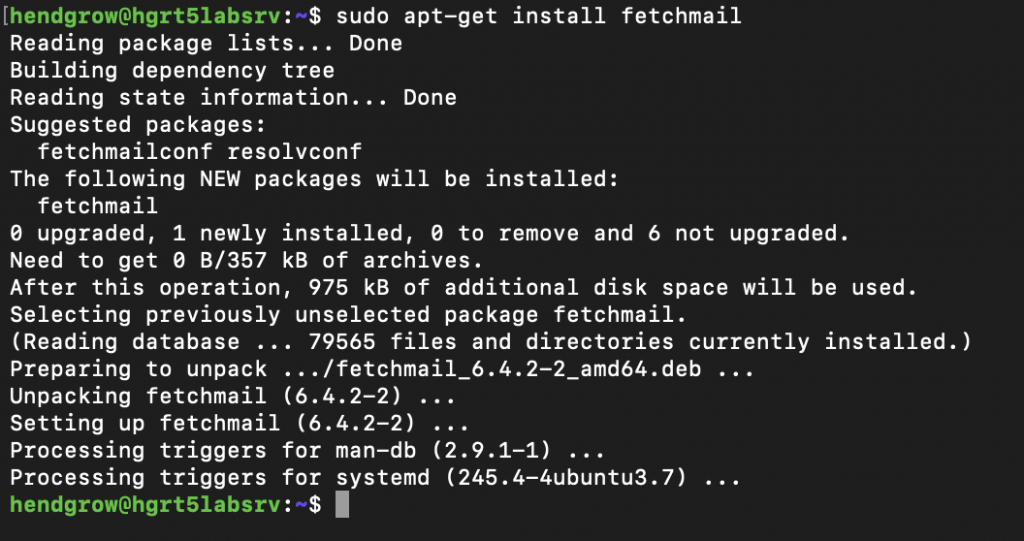
Install Fetchmail
sudo apt-get install fetchmail
Ensure that fetchamail is not running and create the fethcmailrc file.
sudo service fetchmail stop
sudo vi /etc/fetchmailrc
Our config used during this how-to can be found here – > fetchmailrc

Navigate back to RT and set create permissions for “Everyone” on the General Queue.
Admin -> Queues -> Select
Select General
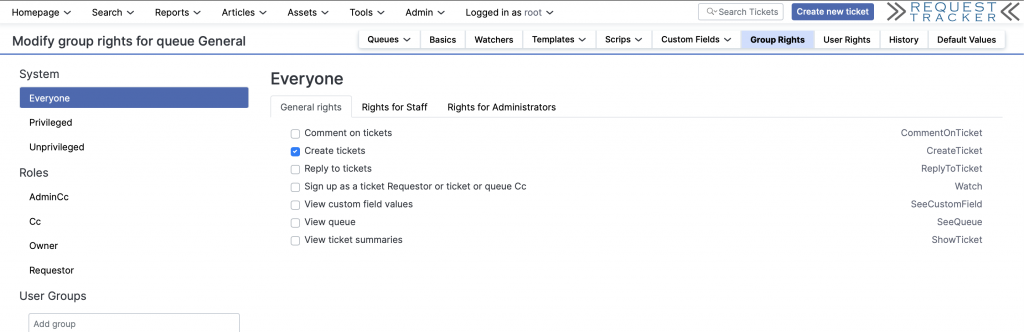
Grant Everyone “Create Tickets” rights.
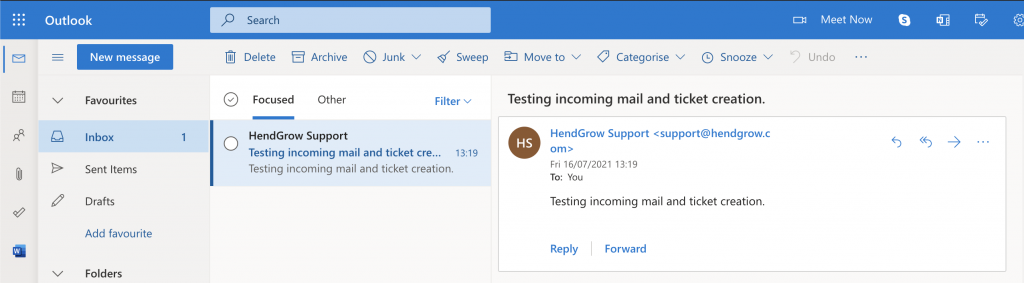
Testing incoming mail and ticket generation.
Send an email to the mailbox so fetchmail has content it can fetch. (We sent a mail from support@hendgrow.com to our mailbox hendgrow@outlook.com)
Set permissions and run fetchmail manually for the test.
sudo chmod 0700 /etc/fetchmailrc
sudo fetchmail -f /etc/fetchmailrc

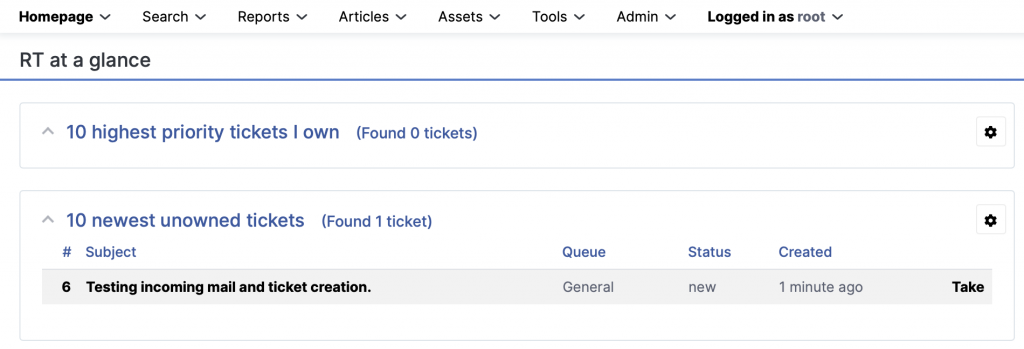
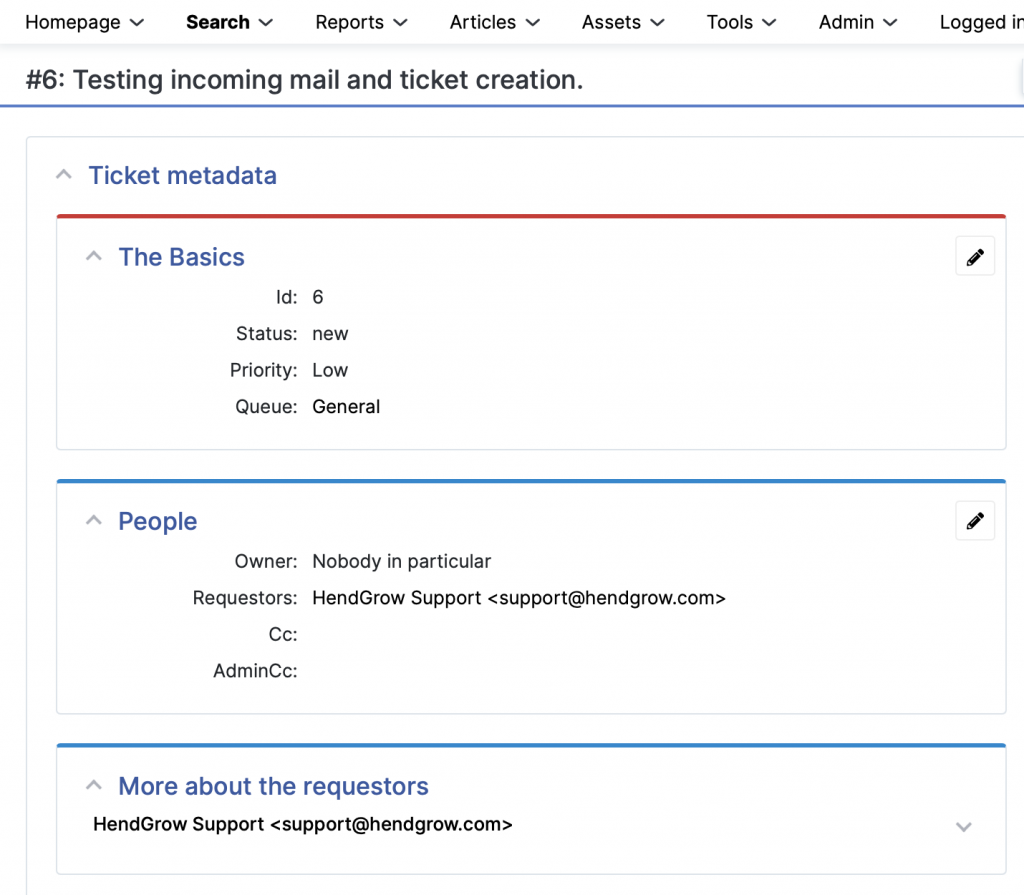
Login to RT and verify a new ticket has been created for the incoming email.
Edit the crontab to ensure fetchmail checks for new mail in the mailbox every 5min.
sudo crontab -e
Add the following line
*/5 * * * * fetchmail -f /etc/fetchmailrc
Your RT5 ticket system should now have the capability of sending and receiving emails for ticket creation and correspondence.
—Guide End Here–